Are you interested in learning how to make paper mache? Paper mache is a craft that you may think of in a time of creative inspiration.
The concept of paper mache has been around for longer than paper creation. Despite its age, it has stayed strong in the crafting world throughout history. Paper mache has since been established as effective but easy to utilize.
This craft may seem overwhelming to those who have not had any experience with paper mache before.
Thankfully, everything down to the mixture you will use is things found in everyday life. Let’s get to everything that you need to know about paper mache.
What is Paper Mache?
Paper mache, or papier mâché (“chewed paper” in French), is a method of art that involves paper and a paste that the artist creates.
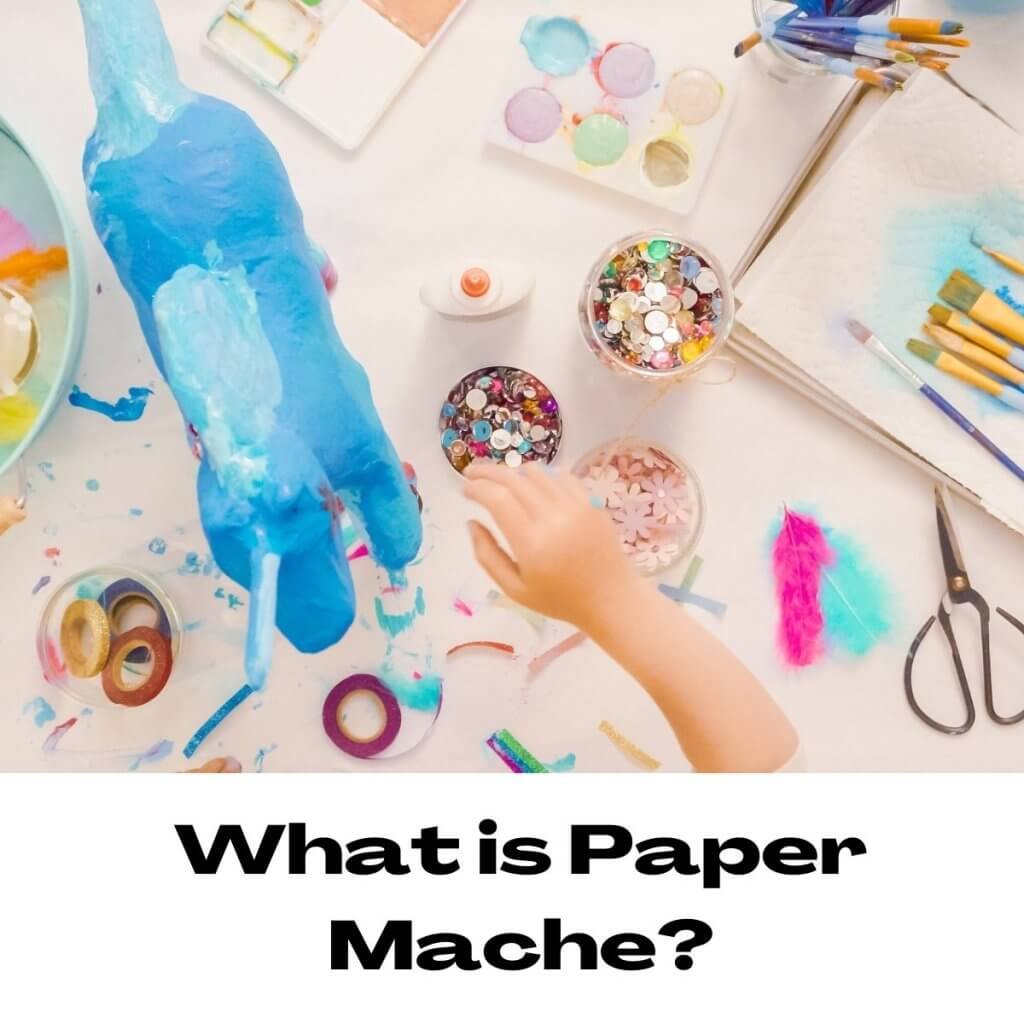
This paste is made of easy-to-find ingredients that you may already have in your house, saving you a trip to the craft store!
The paper you have will be torn into strips and then coated in the mixture you make before being put onto a surface of your choice. Surfaces can consist of things such as balloons, bowls, or vases.
The paper you use that is saturated in the paste will harden as it dries, becoming a light but durable material.
Once it has dried, the paper mache will be strong enough to hold what it needs to hold but will break if put under enough pressure.
The History of Paper Mache
Paper mache as we know it today is thought to have originated from China, where paper itself was first invented.
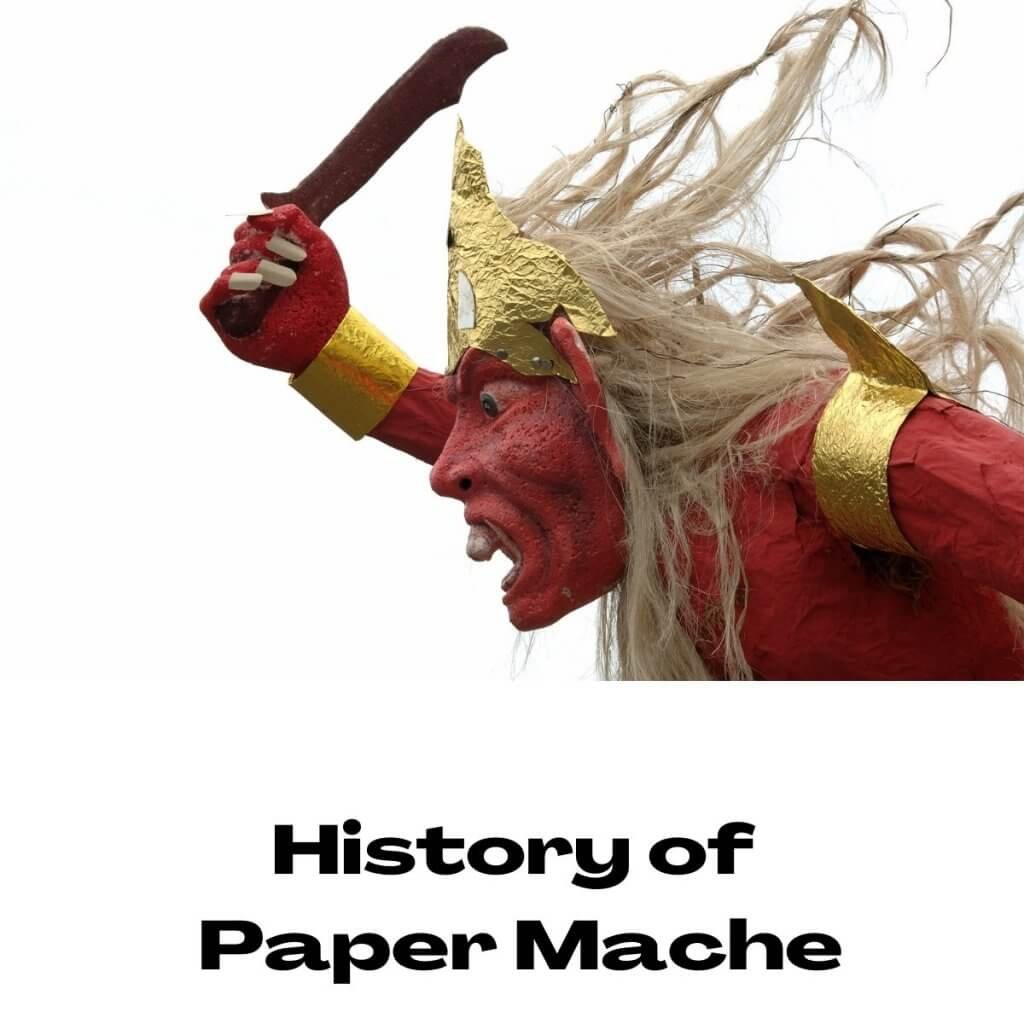
These first instances of paper mache were likely for helmets. While paper mache is not strong enough to save you from any of today’s weapons, it does show how highly they valued this material.
While China has the first known instance of paper mache as we know it today, if you look further back in history, you will see a close relative that can be found dating back to Ancient Egypt.
Ancient Egyptians would coat pieces of papyrus or linen into the plaster to create objects for funerals. Coffins and Egyptian death masks would be crafted from this paper mache version.
Perfect Hobby For You:
Paper Mache in Modern Times
Paper mache is a popular crafting method even in the modern era, but it has also been known to be used for practical uses.
It was not that far back in history that paper mache was being used for fuel tanks and canoes.
While this practice has not necessarily continued into modern day as we know it, it was less than 100 years ago that the craft was being utilized for these items.
Today, it is much more common to see paper mache used to make objects such as pinatas and parade floats. You also may see artists using paper mache to create figures, jewelry, and more.
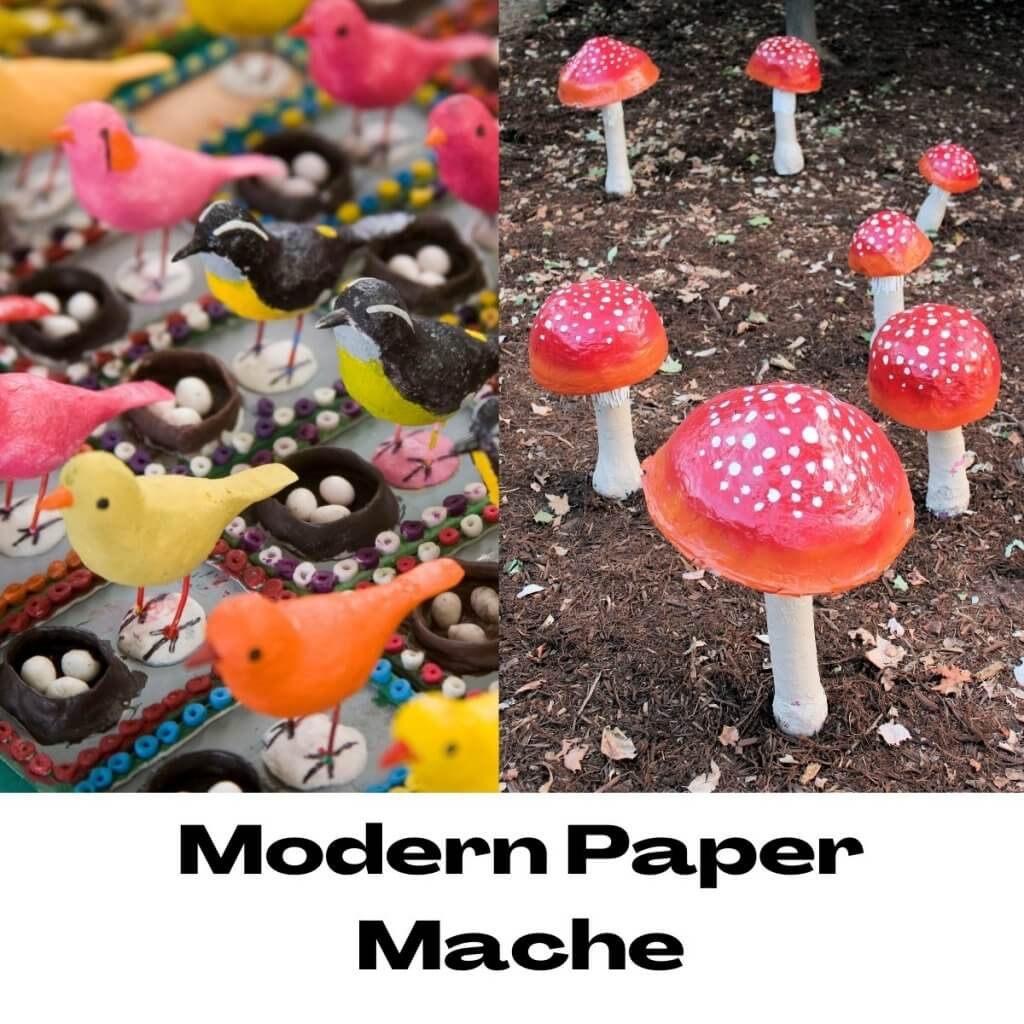
Paper mache can be incorporated into whatever craft you are interested in.
If you are into fairy gardens, you can make a paper mache piece for an indoor terrarium.
Artists globally produce their own impressive works of art with paper mache, with a portion of these artists making their profession solely in paper mache.
If you are a crafter who would prefer a more hands-on method with your craft, consider paper mache a great candidate.
What Supplies Do I Need for Paper Mache?
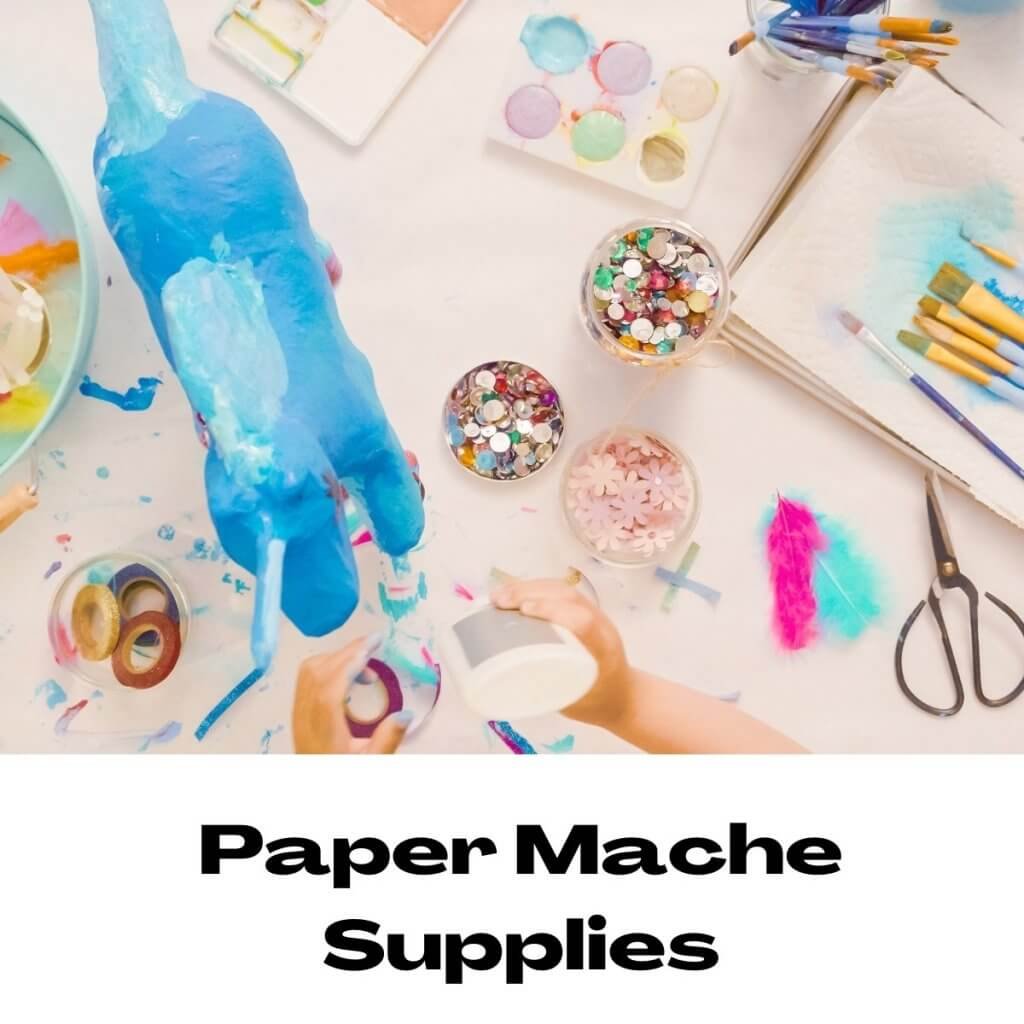
- Paper
- Water
- Flour or Glue
- Container
- Salt
- Whisk
- Base of Choice
Paper
When you are gathering materials for your paper mache project, paper will be the absolute necessity.
Feel free to upcycle any old newspaper or magazines and use their pages as the strips of paper for your paper mache project.
This is a great way to be more environmentally friendly while also saving yourself money.
If you did not have anything spare lying around, Amazon offers over five pounds of blank newspaper for your crafting needs.
Water
Water is one of the next priority materials for paper mache. Water will be your friend, as it is a significant ingredient in your paste.
Without any moisture, there wouldn’t be a paste after all. It does not have to be any particular kind of water; simple tap water would be sufficient.
Flour or Glue
While there is a way to also do paper mache using glue as the base, flour is a more available product for this craft.
Just as water was a significant ingredient for the paste, flour is the next ingredient.
The dry powder of the flour will mix with the water to slowly create a paste with a consistency based on your personal preference.
If you are using glue, the glue will mix with the water just as the flour does.
Container
Your paste will need something to be mixed in. You will need a container that will be large enough for you to easily coat strips of paper in, as well as holding the paste mixture itself.
Salt
Salt is recommended by some paper mache artists to be added to your paste for its antifungal elements.
However, it isn’t a miracle worker, and you will still want to take extra precautions to prevent mold.
Whisk
While the whisk is not a necessity in your paper mache experience, it will certainly ease the way.
The whisk will help to mix your paste together, breaking away any dry clumps to give you a smooth mix.
Base of Choice
The bases you can use are endless, but one great beginner’s item is balloons.
You can apply your moist strips to the balloon to form your project’s shape. When it is dried, you can pop the balloon to remove it easily.
Another option is to use these masks to create paper mache masks that can be used as decorative items.
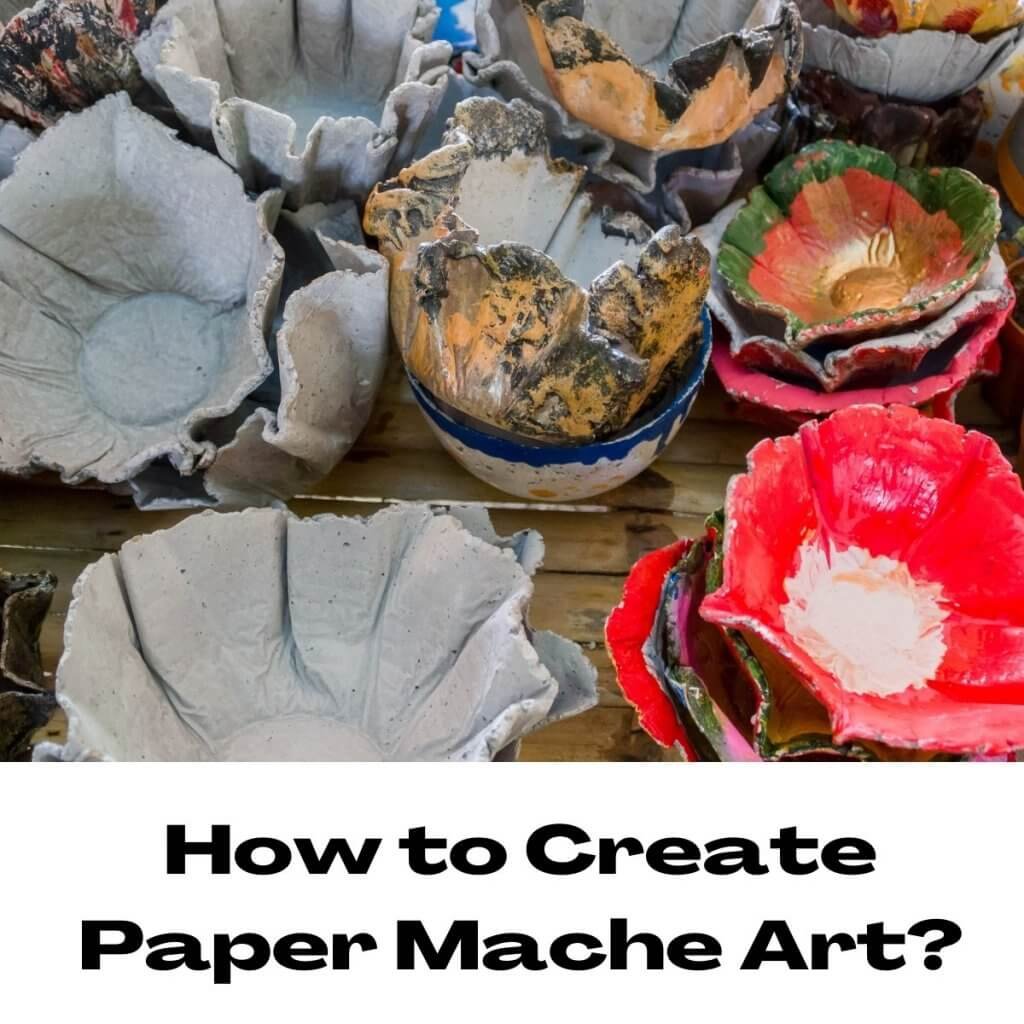
How to Create Paper Mache Art?
- Gather your materials and prepare your crafting area. Make sure all your materials are within reach. You also want to be sure to protect your environment, so prepare your crafting area ahead of time.
- Combine flour/glue and water into the bowl and mix until desired consistency. When you begin to make your paper mache mixture, you will combine your two ingredients in a bowl until it reaches the desired consistency. If the mixture is thick, you add water. If the mixture is thin, you add flour or glue.
- Add some salt if you want. While not a necessary step in this procedure, if you add salt to your mixture, you will help keep your work free of any potential mold while it is drying.
- Whisk until smooth. When you combine these elements together, you will want to mix it until there are no dry lumps. This is a very similar situation to stirring some batter.
- Cover your paper in the mixture of flour and water. When your mix is to your liking, this is when you will begin creating with it. You will grab strips of paper one at a time and saturate them with your mixture.
- Ensure no excess mixture is on the paper by using your fingers to wipe the strip. While you want your strip of paper to be saturated enough to stick to your project, you do not want it to be so soaked that it dries slower. Because of this, you can take off any excess by brushing down with the paper strip in between two of your fingers.
- Place the paper over whatever base you have chosen. If you have selected a balloon, this is where you will keep your balloon steady and begin applying the strips. However, if you’re using a bowl or something else, you will want to apply a nonstick element to your bowl before adding the paper mache.
- Cover the surface as much as you wish. Whether you are creating a bowl and thus only utilizing half of the balloon or if you’re making something different that requires the whole balloon, it is entirely up to you.
- Let dry before beginning a second layer, or you may risk mold. If you are going to apply more than one layer of paper mache, waiting for the previous layer to dry before adding another is the best idea. Even with the salt element, you do not want to risk mold from over-saturation.
- Apply as many layers as you wish. While you have to wait for each layer to dry, apply as many layers as you want if you have the patience!
- Allow it to dry. Finally, when you have added all the layers your heart desired, it is time for you to wait for it to dry completely.
- Remove your base. If you were using a balloon, this is where you can simply pop the balloon. If you were using the bowl, this is where you will be thankful that you used a nonstick agent, as the bowl will be much easier to remove than if you hadn’t.
- Decorate as you please! If you plan on coloring your paper mache masterpiece, it is best to use acrylic paints! There are also many more decorating ideas to truly customize your project.
Tips for Paper Mache Art
Place the Paper Mache Strips In As Many Ways As Possible
If you place every paper mache strip in the same direction, you will have a fragile piece when your project dries. Instead, try to apply your strips of paper to create a strong base in as many directions as possible.
Do Not Paint Until Project is Dry
In the same light as not applying another layer of paper mache until the first layer is dry.
You will not want to paint before your project is completely dried. This increases the chances of mold, which can entirely ruin your work.
You Can Add Aromatherapy Scents
If you do not like the smell of your flour and water mixture, you can also feel free to add aromatherapy scents to your mix.
Be Prepared to Be Patient
When you are doing paper mache, you need to be patient. With how much dry time is involved and how crucial dry time is, you will be spending a lot of time waiting to move onto the next step in your project.
You may want to consider a different craft if you are all for instant gratification.
Paper Mache Video Tutorials
Conclusion
Paper mache is a craft that has grown with humanity, from its ancestry in Egypt to its origination in China.
The materials you need to craft with paper mache are accessible and may already be things you have in your home.
There are so many potential projects for you to test your new crafting skill and a world full of information waiting to be learned. Whatever your reason for learning paper mache may be, the path ahead will be adventurous.


