As an artist, in any form, an integral tool to keep on hand would be a sketchpad, or for some, a notebook would suffice. Painters, writers, and illustrators alike can use this tool.
Additionally, they can keep a collection of their work bound together for display or as a private keepsake. You can also use this method for other things, such as a school project, a journal, or a collection of poems.
Bookbinding is another age-old practice used by creators throughout the centuries. They bound or sewed books together, as the name suggests. Yes! That is all there is to it. It is not scary or daunting; anyone, including you, can learn to do it. Its related fields are gilding and fine binding.
Some of the first examples of bookbinding in history appeared in India. People there used large dried leaves to write their documents. They appeared around 100 BCE – long before the invention of print books.
There’s no need to seek out the services of a printing press. Now you can do your own scrapbook or journal. Interested in becoming a DIY bookbinder?
Here is a quick, easy, step-by-step guide to everything you need to know. It’s DIY bookbinding for beginners! Learn basic bookbinding at your own pace.
What Do You Need to Start Bookbinding?
Before beginning the search, it is essential to remember to start small. Another key point is that bookbinding is irreversible.
As a matter of fact, ensure that you are comfortable with the idea that your first few tries may get damaged. Until you are comfortable enough, practice your new skills on scrap.

Supplies
Here is a checklist of basic tools needed.
- Paper (obviously)
- Bone Folder
- Book Awl
- Marker/pen
- Waxed thread (linen)
- Needle
- Cutting board
Ensure you have all items ticked off before moving on to the step-by-step tutorial.
Each tool above serves its own unique purpose in bookbinding. And yes, those are some funny named tools (take it as a sign you’ll be having fun). Here are some details that make things a little easier for you:
A bone folder is a tool with a dull edge that will help you fold and/or crease your material.
A book awl is a tool used to punch holes in your material. This is a sharp tool, so proceed with caution!
Waxed linen thread can be store-bought. Or, you can create your own using beeswax and embroidery thread.
How do you book bind DIY?
Following the steps below, anyone can become a DIY bookbinding pro! Ensure you have gathered all the materials (you can pay a visit to Amazon).
Furthermore, you can always check your local craft store. No worries if you don’t have such a store in your neighborhood. At least you can use high-quality copier paper for your first few projects, or if it’s a journal, notepaper.
Now that you’ve gathered all your material, it’s time to start.
Can I bind a book myself?
Of course, you can. Bookbinding, though daunting to think about, is quite simple. Take all the time you need. Do not rush it. This is an art, and art takes time.
What Are the Different Methods for Book Binding?
Bookbinding is an art that goes far back in history. As early as the 9th century, the first bound books appeared. THAT WAS A REALLY LONG TIME AGO! More than a millennium has passed.
What’s more, we’re talking actual books, not the bound leaves from India. With it, many versions and techniques of bookbinding developed.
With that in mind, many different bookbinding methods have emerged. In fact, some of our faves are:
- Case Binding
- Perfect Binding
- Saddle Stitch Binding
- Comb and Spiral Binding
- Exposed Spine Binding
Each is unique, yet they all achieve one goal.

Case Binding
Case binding is the most secure and protective of techniques. By the same token, these bindings, characterized by their hardcovers, are pretty standard. Yes, those.
With this technique, the pages are glued to the spine of the book. An encyclopedia is an excellent example. If you’ve ever held an encyclopedia, then I’m almost certain you’ve held a case-bound book.

Moreover, this technique is the one of choice for many books. It tricks many people into thinking that the book in question is an excellent read. For a good reason, they are more durable, and these factors also make them more expensive.
Due to the higher cost, many people would be less willing to select this technique. Yet, it adds further durability to secure the longevity of the tome. The hard covers also make the books heavier.
Nonetheless, this technique is superior if you want your books to last long.
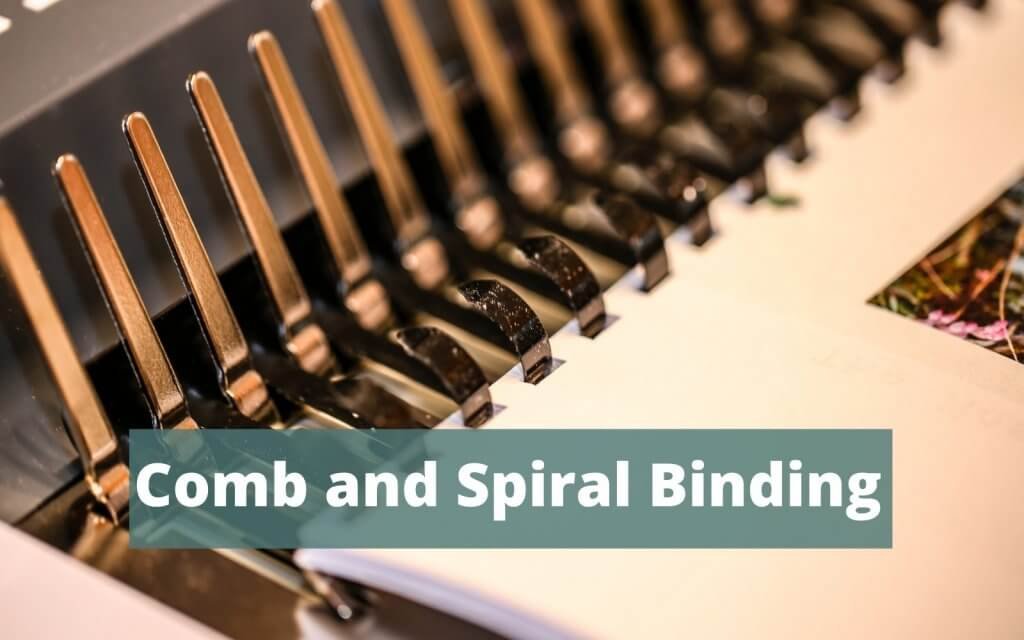
Comb and Spiral Binding
This is the cheapest most DIY bookbinding technique on this list. This one is for you if you are here for the easy way out. These are two different techniques, so don’t get them mixed up, but they are at the same time quite like each other.
Comb Binding: With this technique, you will need to punch along one of the edges. Or, to save time, you can buy a comb binding machine. Then, thread the comb through the same holes, and voila! Easy peasy, lemon squeezy.

Spiral Binding: Again, we begin with the punched holes. They are what make the two techniques similar. But rather than threading a comb, bookbinders use individual coils.
These coils are made of different materials (sometimes plastic, sometimes metal). The spiral notebook you used in junior high is the best example we can think of.
These methods are quick, easy, and effective, but only last for so long. The pages of a book or journal held together in this manner tend to fall out pretty fast.
They also are more susceptible to tearing. These kinds of books scream DIY project. Thus, this option may not be the best fit if you don’t want your project to look self-published. These techniques also generally are not accepted by major retailers for distribution.
The good thing is, if none of those things matter to you, then you have saved loads on production costs.
Perfect Hobby For You:
Perfect Binding
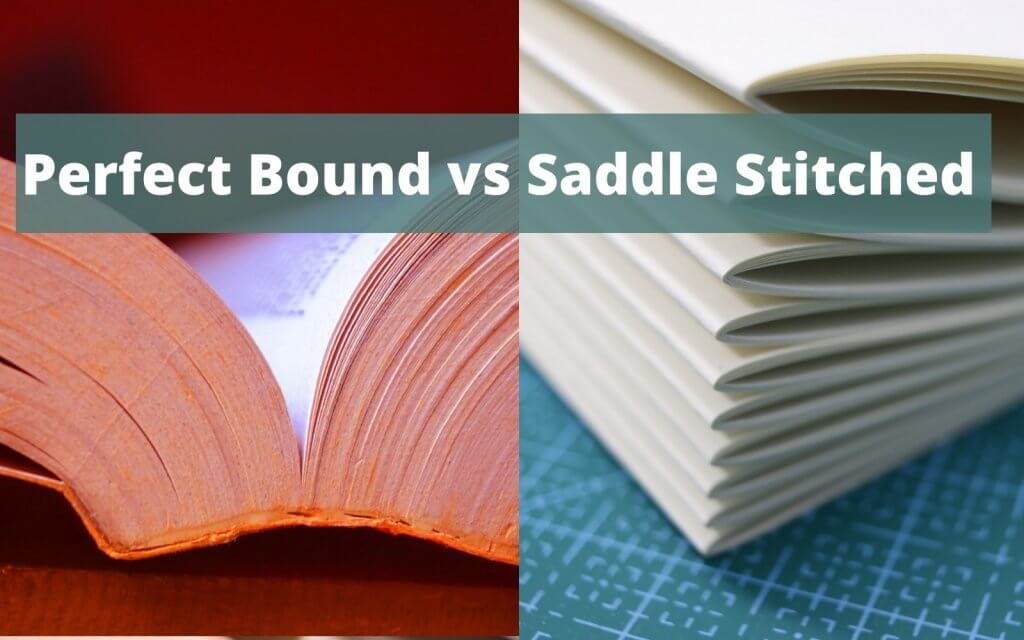
Perfect binding is a cheap alternative to case binding. This technique may be the most common. It is the ideal compromise between durability and cost-effectiveness.
The perfect method uses heavyweight coated cardstock. It’s not as durable as the case binding technique. Yet it is cheaper, lighter, and protects your folded papers. It is, after all… PERFECT!
We stick the folded pages of books bound using this technique with strong glue. Here’s a handy spine calculator to tell you how thick the spine on your project should be.

Saddle Stitch Binding
This technique has two variations. One involves stapling and is the midrange, cost-effective alternative to the perfect method.
The best time to use this technique is for creating books that you intend to have a short life span. This technique would also come in handy for projects with very few pages.
This technique is the simplest one yet. All it entails is stacking the pages correctly and stapling the intended spine.
This technique has limits. It depends on both the strength and the size of the staples used. For instance, you can easily use cardstock or anything a staple can pierce for the book cover.
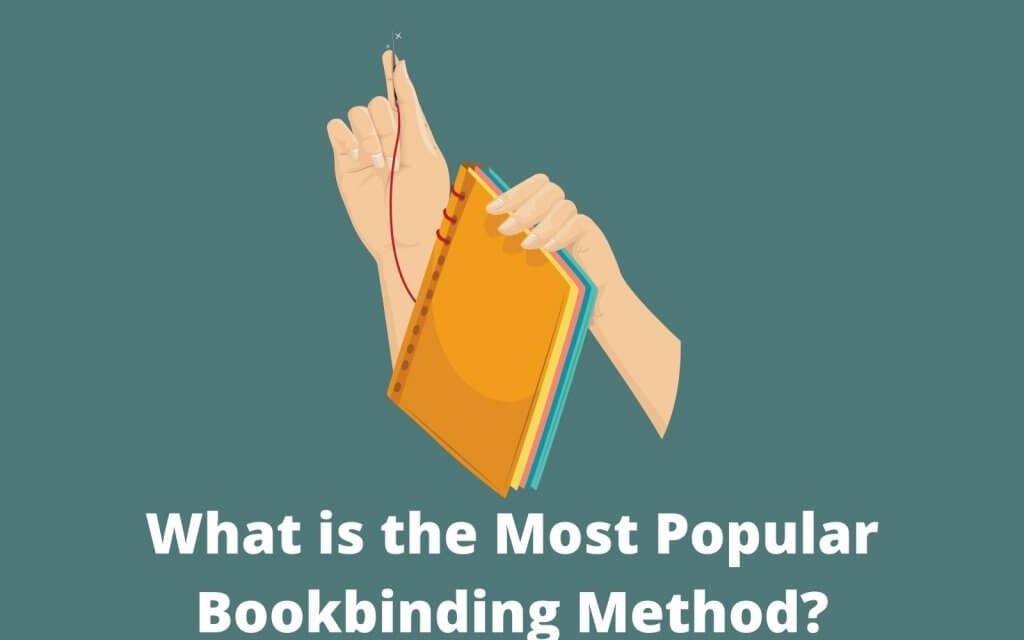
The other variation of saddle stitching is the thread-sewn method. It involves folding each sheet and sewing the pages together with waxed thread. The thread-sewn process is perfect for DIY projects.
What are the 2 Types of Book Binding Used the Most?
Well, the short answer is ALL OF THEM. You must find the use case that suits your needs the most. Case binding and perfect binding are more popular for retail purposes.
For example, most commercial binders or printers use one of these techniques. The perfect binding method is the most common. Yet, that does not mean they outshine any other technique.

Comb & Spiral Binding and Saddle Stitch Binding are great for creating DIY projects. In addition, they’re the favorites of students working on term papers and dissertations alike.
They use these techniques to put their assignments together to hand in for grading. These also show up in instruction manuals, and even company documents.
You might also want to consider it for your journal. In other words, there is no correct answer. Instead, use the resources that work best for you.
Basic book Binding Process Step by Step.
Here are the basics of binding your own book. Even better, I will tell you two different ways of creating bound books on your own. You’re welcome!
It would be best to know how to create a “quote, unquote” DIY type book and a more professional type of book.
Continue on to learn the basics of the spiral binding. I’ll also teach you the saddle stitch Binding technique.
Spiral Binding
Step 1: Make the Cover
Get two pieces of cardboard and cut them down to the size you want. You can use the cardboard from a cereal box or the back of a notepad. Chipboard can also work.
Step 2: Wrap the cardboard with colorful paper.
This paper should be one inch longer and wider than the cardboard base. You can use construction paper or even gift wrap. Design it how you wish with a drawing or computer graphics. Make the front fancy, with an image or a title.
Step 3: Stick the paper onto the cardboard.
Turn it so that the blank side is facing you. Brush a thin layer of liquid glue onto the cardboard and make sure you center it. If needed, smooth it down with a credit card or ruler. Work your way from the middle to the outsides.
Step 4: Clip the corners of the paper.
Use a craft blade and metal ruler to cut off the corners. Clipping the corners helps to remove bulk so that your work lies smoother.
Step 5: Cut paper for the inside covers.
Cut two sheets half-inch shorter than your cover on each side. If you have a fancy cover, try a plain inside, and vice versa. Glue it to the back of the cardboard to partly overlap the wrapped edges.
Consider sealing the front and back covers with acrylic spray sealer. Or, you can use another sealant such as topcoat or decoupage glue. Note that the ink may run if you decorated your project, so be careful.
Step 6: Cut the paper down to the same size as the covers.
You can use up to 40 sheets. If you’re using thick stock, avoid cutting more than 40 sheets. If you cut more than that, you will need to make a bigger coil, which is more likely to warp out of shape.
Step 7: Create your template and punching guidelines.
Use a ruler and pencil to draw a line about 2 mm from the edge of the paper. Or, if you prefer, you can do it on the top edge.
In that case, make the mark along that edge. Using a 3 mm hole puncher or screw punch, or even a thin nail, punch it at intervals spaced 2 mm apart. Leave some space (5 mm or so) at the top and bottom.
To clarify, you shouldn’t use a regular hole puncher: it’s too big. Use your template to guide you as you punch all your other sheets of paper.
Step 8: Use the template to punch the two covers.
Lay it on top of your front cover. Create the holes, and use the template to repeat this step for the back.
Step 9: Assemble the book.
Rest the back cover facedown. Stack the pages on top, ending with the front cover, face up.
You can put other items into your books at this point, such as sticker sheets and foldouts.
Tap the book on the table to align everything, particularly the holes. Secure the pages and the covers with binder clips.
Step 10: Prep your wire.
Wrap some stringing wire around a pen (the thicker the pen, the better). Sixteen gauge works well. Match it to the number of holes in your paper. For example, if you punched 18 holes, wrap it 18 times.
Use wire cutters to get rid of the excess. Pull the wire off the pen and stretch it until it’s around the same length as your book.
Pass the wire through each hole, then bend the wire inwards. Use needle-nose pliers to hook the end on the coil (for reference, you can look at a spiral-bound notebook). Repeat on the other end.
Congratulations! You’ve spiral-bound your first book.
Saddle-Stitch Binding
Step 1: Fold the paper in half one at a time.
Calculate how many pages you need, and fold each one in half. Folding it one sheet at a time creates a clean, sharp fold for your book.
Use a bone folder to lay each piece flat at the fold. A credit card or ruler can also work to give the folded paper a crisp edge.
Step 2: Open out the papers.
Using a sewing needle, prick some holes along the paper fold. Don’t poke willy-nilly – use a ruler to measure, create even spacing, and mark where the holes should be.
Each sheet should have the same number of holes and the same spacing between these holes. We recommend spacing them between half an inch and one inch.
As you create more and more books, you can change the placement of your binding threads as you like.
If you want to spice up the spine, you can add items to the threading as you bind your book. Make a stack of these papers, aligning the holes.
Step 3: Cut some thread double the book’s length.
Thread the sewing needle, tying the end into a knot. Starting at the far end of the paper, drive the sewing needle through the stack of paper.
Pull-on the thread till the knot reaches the other side of the hole. Pull it through the next hole, but opposite to the first.
Continue to thread in this alternating pattern. Do it until you reach the very last hole.
Step 4: Thread toward the opposite side.
Using the same alternating pattern, thread through the holes again but, this time, do it in the opposite direction.
Once you’re done, tie another knot in the line. Finish off by cutting any excess thread.
Again, congrats! Now you know how to saddle-stitch a book. Life is good!
Book Binding Tutorials
Below are video tutorials for you to watch, which showcase the book binding process. Again, say it with me this time: EASY PEASY LEMON SQUEEZY!
I’ve included videos on spiral binding and saddle stitching. I hope they will make these processes more straightforward.
Best bookbinding books to look into.
It may seem a bit corny, but yes, there are books on how to create a book. Great self-promotion, too, if you ask me. Here is a list of all our faves and a link to get them at your fingertips.
- Making Handmade Books: 100+ Bindings, Structures & Forms
- Hand Bookbinding: A Manual of Instruction
- Little Book of Book Making: Timeless Techniques and Fresh Ideas for Beautiful Handmade Books
We would love to see how your binding projects turned out. Send us a pic in the comments section, and let us know how easy (or difficult) it was for you.


