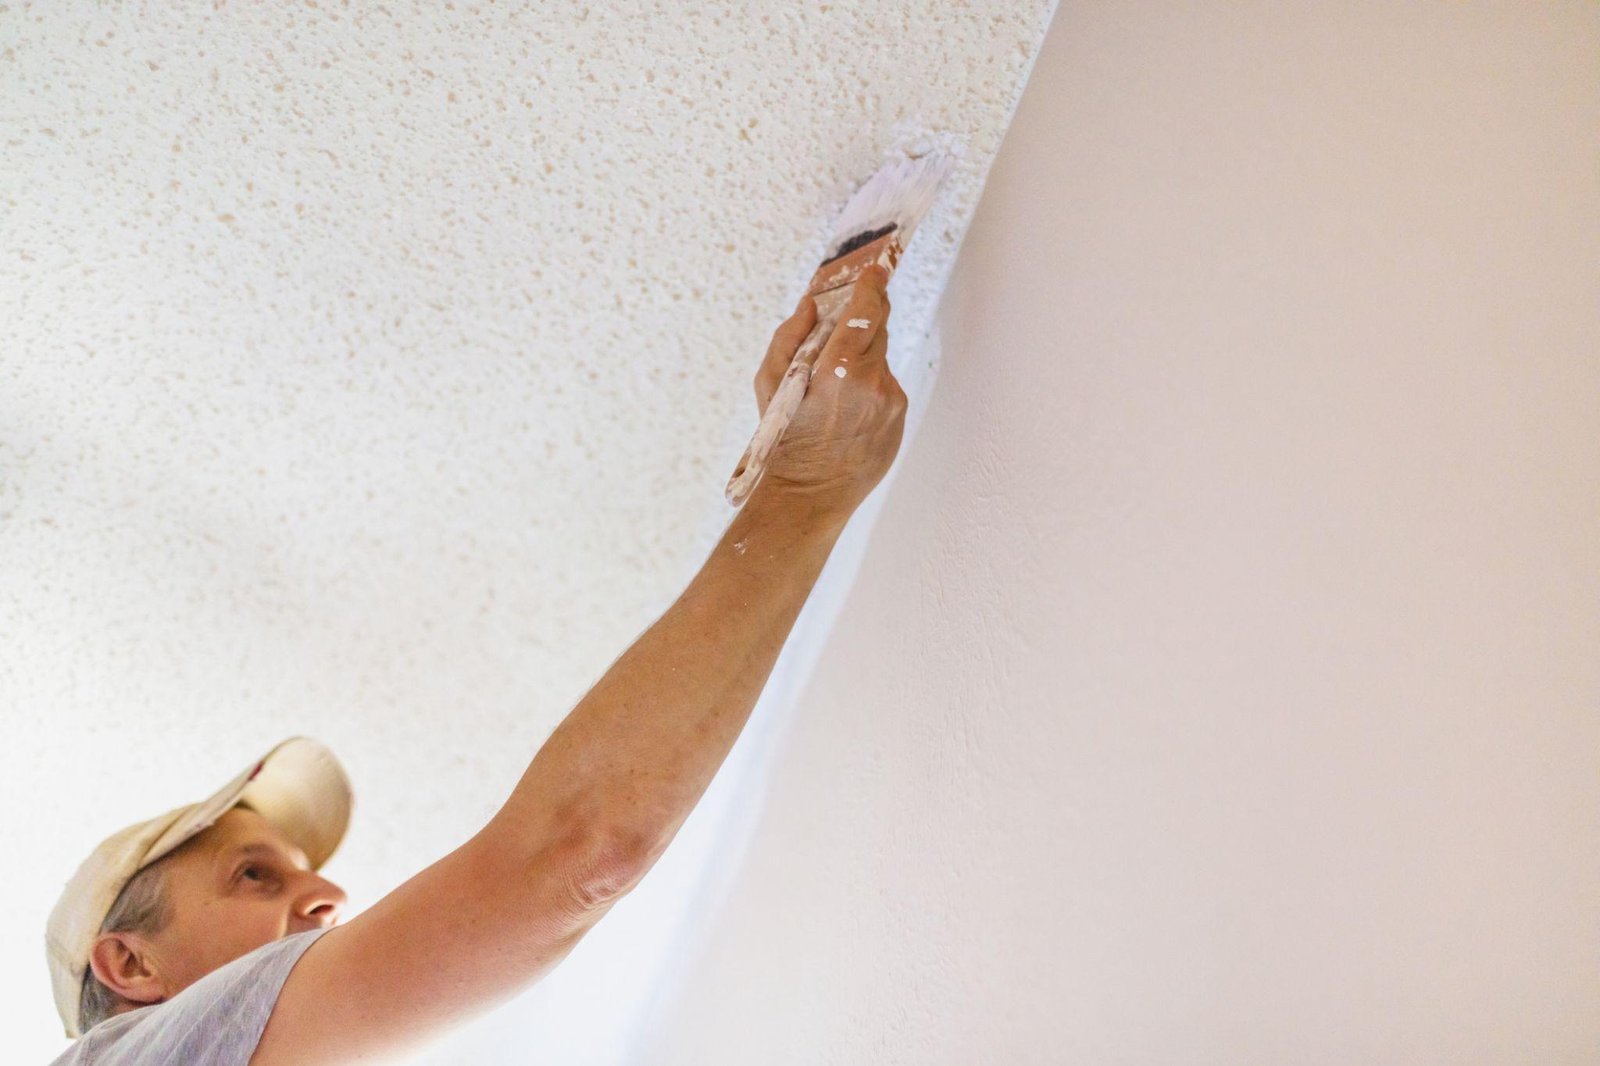
Painting your stucco ceiling can breathe new life into your home, transforming an often overlooked space into a captivating feature. Imagine stepping into a room with a freshly painted ceiling that brightens the entire area, enhances the textures, and erases years of wear. Whether your stucco ceiling has accumulated unsightly stains or simply needs a bit of revitalization, the right coat of paint can make all the difference. In this guide, we’ll walk you through everything you need to know to confidently tackle this project, from preparation to the perfect finish.
Why Choose to Paint Your Stucco Ceiling?
Painting your stucco ceiling is an excellent way to refresh your home without the expense of a full remodel. A new coat of paint brightens the room, covers stains, and enhances the overall aesthetic. With various colours available, you can easily customize your space while preserving the unique texture that makes stucco ceilings appealing.
Benefits of Painting Your Stucco Ceiling
- Cost-Effective Refresh: Avoid the expense of removal and enjoy a vibrant new look.
- Customizable Options: Choose colours that reflect your style and enhance your decor.
- Improved Aesthetics: A fresh coat of paint will cover stains and imperfections for a cleaner, brighter ceiling.
- Preserved Texture: Maintain the unique charm of stucco while giving it an updated appearance.
Prep for Painting Stucco Ceiling
Painting your stucco ceiling can be rewarding and dramatically refreshes your space. However, proper prep work is essential to achieving your desired polished finish. Let’s break down the steps for preparing your ceiling for paint with clear guidance and practical tips.
Step 1: Clear the Space
Start by removing all furniture from the room. If moving everything isn’t possible, gather items in the center of the room and cover them with plastic sheeting to protect them from dust and splatters. Next, you’ll want to lay down drop cloths or old sheets on the floor to catch any paint drips. A clean workspace makes painting easier and more enjoyable!
Step 2: Protect Your Surroundings
Now, it’s time to focus on protecting your walls and fixtures. Use painter’s tape around the edges where the ceiling meets the walls to create a crisp, clean line. This step prevents paint from sneaking onto surfaces you don’t want to colour. Cover light fixtures and ceiling fans with plastic wrap or bags, ensuring they stay paint-free.
Step 3: Clean the Ceiling
Cleaning the stucco ceiling is crucial for good paint adhesion. Dust and debris can interfere with how well the paint sticks. Grab a vacuum with a brush attachment or a soft broom, and gently remove dust, cobwebs, and dirt from the surface. For any stubborn stains, use a damp cloth with mild soap to wipe them away. If your ceiling has accumulated years of grime, consider using a ceiling surface preparation cleaner designed for textured ceilings.
Step 4: Inspect and Repair
Take a careful look at your stucco ceiling. Are there visible cracks, chips, or areas with water damage? If so, these need addressing before painting begins. Small cracks can often be filled in with spackling paste, while larger issues may require more extensive repairs. For serious damages, contacting professionals specializing in Calgary stucco repair for homes can ensure your ceiling is in top shape before you start painting. Their expertise guarantees a sound structure for your fresh coat of paint.
Step 5: Primer Application
Applying primer is essential if your stucco ceiling hasn’t been painted before. Use a high-quality oil-based primer specifically designed for textured ceilings. This step helps the paint adhere better and seals any stains that could bleed through. A good primer lays the groundwork for an even application of paint later.

Step 6: Gather Your Tools
Prepare for the main event by gathering all your supplies. Here’s a quick checklist:
- Textured Ceiling Paint: Choose the best paint for stucco ceiling applications.
- Rollers and Brushes: Invest in popcorn ceiling painting tools; a heavy-nap roller is ideal for textured surfaces.
- Drop Cloths and Plastic Sheeting: Keep your floors and furniture protected.
- Ladder: Ensure safe access to the ceiling.
Step 7: Final Preparations
Once everything is clean and prepped, step back and admire your organized space. Now you’re set to begin the fun part—painting! Following these painting stucco ceiling tips will make the process smoother and more enjoyable.
With proper preparation, your DIY stucco ceiling painting will be a breeze. If you run into any challenges or prefer professional assistance, don’t hesitate to consult stucco companies in Calgary for expert help. They can streamline the process, providing tailored services to achieve the perfect look for your ceiling.
Choosing the Right Paint for Stucco Ceiling
Selecting the right paint for your stucco ceiling can make all the difference in achieving a beautiful finish. The best paint for stucco ceilings is typically a high-quality, flat or matte latex paint specifically designed for textured surfaces. This type of paint provides excellent coverage and minimizes shine, effectively hiding imperfections in the texture.
For those opting for a DIY approach, consider using textured ceiling paint to help fill in small gaps and create an even look across the surface. Remember to take note of whether your ceiling has been previously painted. If it has a glossy finish, you might need a primer for textured ceilings to ensure the new paint adheres properly.
Key Considerations When Choosing Paint
- Type of Paint: Flat or matte finishes are ideal as they complement the texture and reduce glare.
- Primer: Using a suitable primer improves adhesion and covers stains effectively.
- Texture Compatibility: Ensure the paint is formulated on popcorn or textured ceilings.
- Colour Selection: Choose light colours to brighten the space, or experiment with bold shades for a statement look.
Step-by-Step Guide: How to Paint Stucco Ceilings
Once you’ve prepared the ceiling and chosen the right paint, it’s time to start painting. Before painting your stucco ceiling, it’s important to consult professionals for stucco repair for homes to ensure any damage is properly addressed. Follow these steps to get a flawless finish:
Apply the Primer
Start by applying a coat of primer to your stucco ceiling. Use a paint roller designed for textured ceilings to ensure the primer reaches every nook and cranny. Allow the primer to dry completely before moving on to the next step.
Use the Right Roller Technique
The stucco ceiling roller technique is essential for achieving a smooth and even coat. Choose a roller with a thick nap, typically between ¾” and 1” for rough stucco textures. Roll the paint in a “W” or “M” pattern to ensure it spreads evenly across the surface. Avoid overloading the roller with paint, leading to drips or uneven coverage.
Paint the Ceiling
After applying the primer, it’s time to apply your first coat of paint. Use the same roller technique, and allow the first coat to dry completely. For best results, wait for at least two hours between coats. Consider applying a second coat to ensure full coverage if painting a particularly textured ceiling.
Touch Up and Finish
After the second coat has dried, inspect the ceiling for missed spots or uneven areas. Touch up any imperfections with a small brush. Be sure to remove any painter’s tape from the walls before the paint fully dries to avoid peeling the paint off.
Common Challenges and Tips for Avoiding Splatter on Stucco
One of the most challenging parts of painting a stucco ceiling is avoiding splatter. The texture of the stucco can catch paint and create a mess. Here are a few tips to prevent splatters during your project:
- Use a Low Nap Roller: A low nap roller will help you control the amount of paint applied to the surface, reducing splatter.
- Roll in The Right Direction: Always roll the paint in the same direction to avoid roller marks and splattering.
- Work in Sections: Don’t try to paint an area that is too large at once. Instead, break the ceiling into manageable sections.
- Masking Walls for Ceiling Painting: Use high-quality painter’s tape to mask the walls around the ceiling. This will prevent the paint from getting onto the walls.
- Popcorn Ceiling Painting Tools: Invest in a paint sprayer or a long-handled roller to help cover large areas without making a mess.
- Avoiding Splatter on Stucco: Take your time when rolling on the paint. Apply it in thin layers and avoid pressing the roller too hard into the ceiling, which can cause paint to splatter.
Removing Stains from Stucco Ceilings
If your stucco ceiling has accumulated stains over time, it may be necessary to clean it before painting. Using the right cleaner and technique can help remove discoloration without damaging the texture of the ceiling.
- Mild detergent solution: A mild detergent mixed with warm water is effective for most stains. Gently scrub the stained areas with a soft brush.
- Bleach solution: A diluted bleach solution can be used for stubborn mildew or mould stains, but test it first on a hidden area to ensure it doesn’t damage the texture.
Elevate Your Space With Professional Stucco Ceiling Services
Transforming your stucco ceiling with a fresh coat of paint can revitalize the entire look of your room. From brightening the space to covering up imperfections, painting your ceiling provides a simple yet impactful update. Achieving a smooth, even finish can be tricky, especially with textured surfaces like stucco. Let the experts give your ceiling the flawless finish it deserves—contact a professional team today and enjoy stunning results without the hassle.


