Paper quilling has been around since the fifteenth century. You will also hear it referred to as ‘filigree.’ Paper quilling is an awesome form of artistry that you’ll find incorporated into wall art, jewelry, paper flowers, and monograms.
You’ll be amazed at what you can create out of strips of paper and glue. It’s a wonderful hobby to participate in, and your children and teenagers will love it too.
If you are ready to get started with paper quilling, here is a complete guide for beginners.
What Is Paper Quilling?
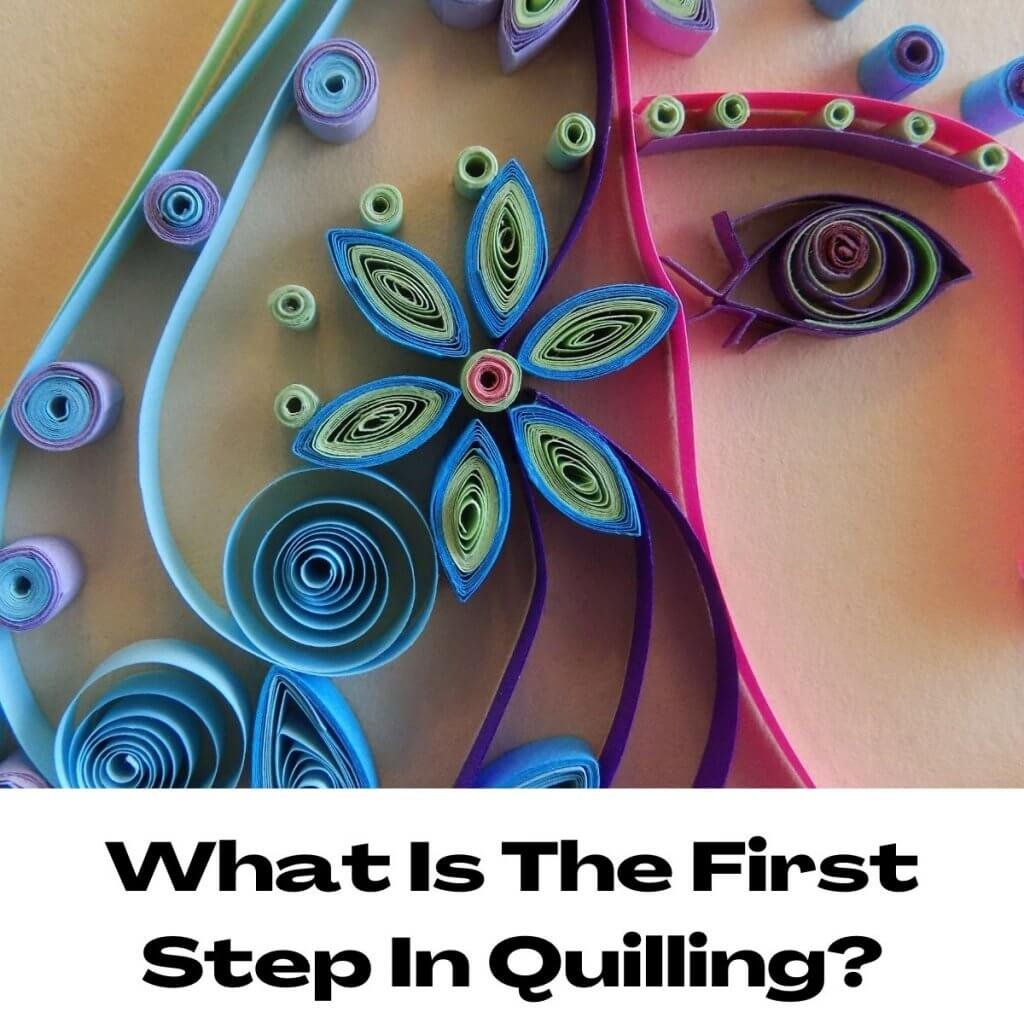
Paper quilling is a craft that involves rolling thin strips of paper into scrolls or coils and then turning them into the shape or pattern of your choice.
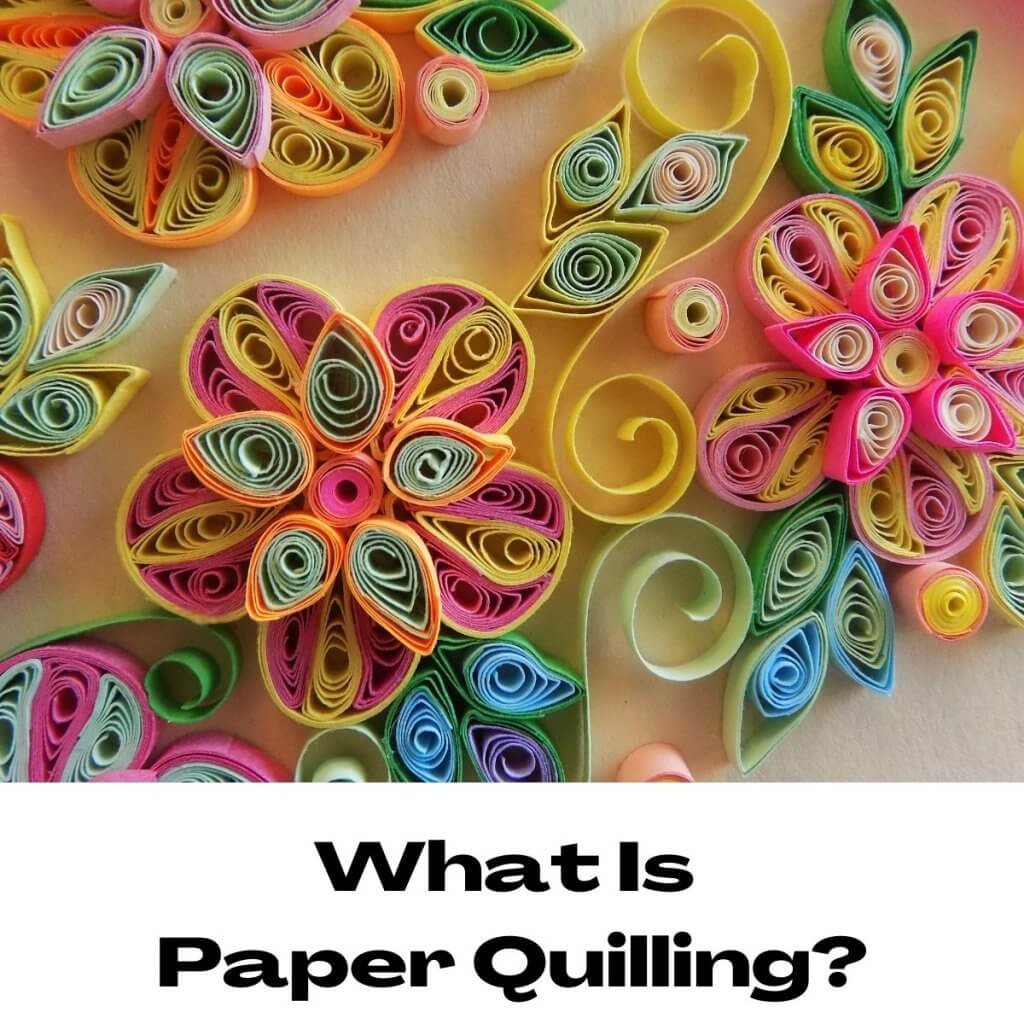
Although paper quilling has been around since the fifteenth century, it grew in popularity between the 1970s and 1980s, it disappeared during the 1990s and 2000s, but now it’s making a comeback.
If you like working with your hand’s paper quilling is an easy skill to learn.
Paper Quilling Tools And Supplies
You will need quite a few tools to get started with paper quilling. You can purchase a complete kit containing everything you need to start your project or buy the tools separately.
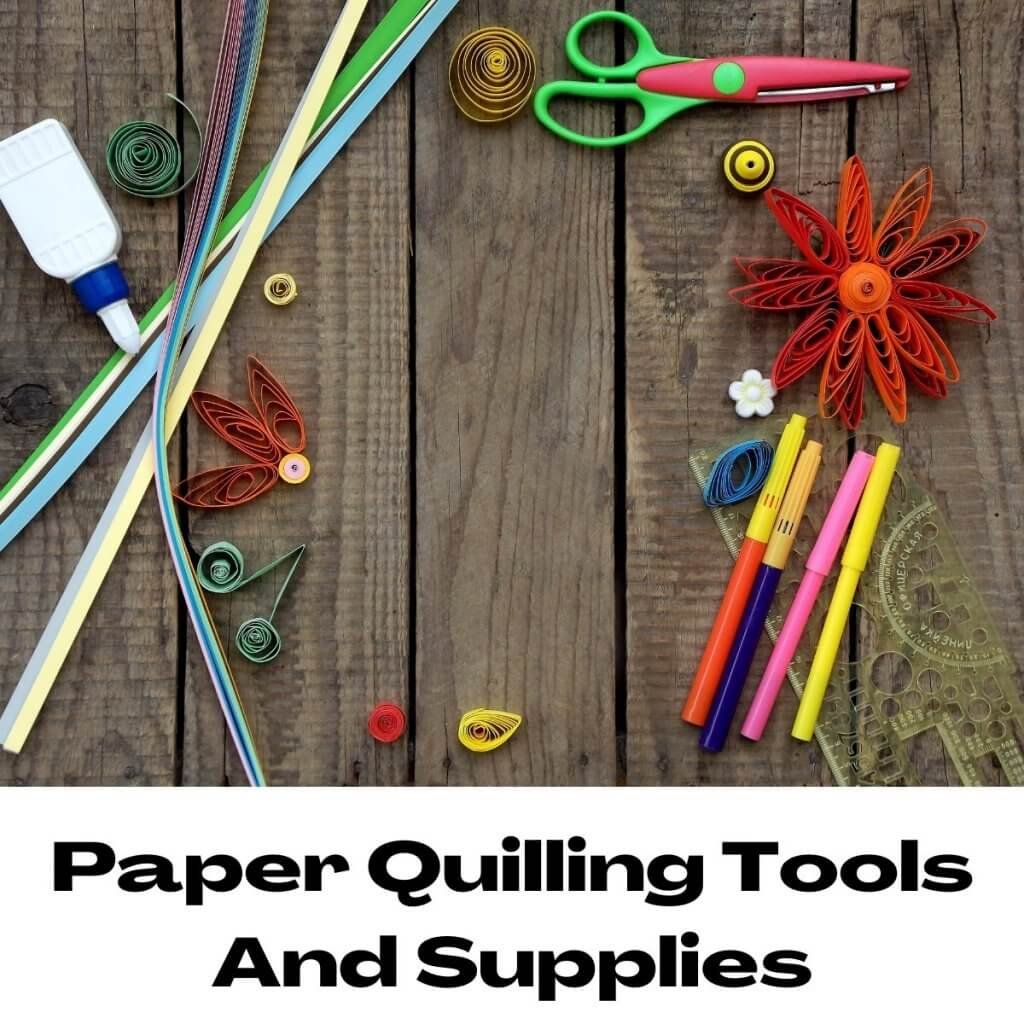
However, the kit is more expensive. Here is a list of the basic tools:
Slotted Tool
The slotted tool is easier for beginners; however, it creates a crease in the paper.
To avoid this, use the needle tool. Additionally, if you’re on a tight budget, you can also use a corsage needle or a toothpick.
The slotting tool is a thin metal structure with a slot on one end to fit the paper through and a handle on the other end.
Needle Tool
Beginners find the needle tool difficult to use, but your quilling project will look more attractive because it doesn’t leave a crease in the paper.
It looks the same as the slotted tool, but with a point at the top similar to a needle and a handle at the other end.
Quilling Paper
You can buy quilling paper from an arts and crafts store or make your own.
Tweezers
These are not the tweezers used to pluck eyebrows. You will need to purchase a pair from an arts and crafts store.
Tweezers will make the process a lot easier.
Scissors
You won’t use scissors much for quilling because tearing the ends of the paper looks better.
But there may be times when you will need them, so it’s a good idea to have a pair on hand. The thin type found in a sewing kit works best.
Work Space
A workspace is not a tool, but you’ll need a workspace to complete your quilling projects. A desk is perfect.
If you have a designated area with everything you need kept in one space, then great, but a regular desk will do. Just clear the space when it’s time to use it.
Glue
Any glue will do as long as it dries clear. I prefer thicker glue, it takes longer to dry, but it doesn’t soak the paper like thin glue.
The only problem with glue is that the bottles are usually too large to accommodate quilling paper, so you’ll either need to buy a bottle with a needle nose and transfer the glue or use a thin object such as a toothpick to dip into the glue and transfer it onto the paper.
Mat Board
If you’re quilling for decorative purposes, use a mat board to mount your completed designs.
Quilling Comb
To begin with, you may not use the quilling comb because it’s a complicated tool. However, they work wonders once you get some practice when making objects such as leaves and flowers.
Wax Paper
Wax paper will protect your work because it doesn’t stick to the glue. Place a small sheet over your design, pin it down to the cork board and work over it.
Tracing Paper
Tracing paper will make your life a whole lot easier when sketching designs for your quilling project.
Cork Boards
A cork board is what you will build your quilling project on. They are sturdy enough to stick pins in.
Pins
Instead of fighting with your quilling strips to hold them together, use pins. Longer pins are easier to use.
Thin Paint Brush
Use a thin paintbrush to wipe off excess glue. It can get in between the tiny spaces and clean up any mess you may have made.
Paper For Paper Quilling
You can use most types of text weight, acid-free, colorfast paper for quilling.
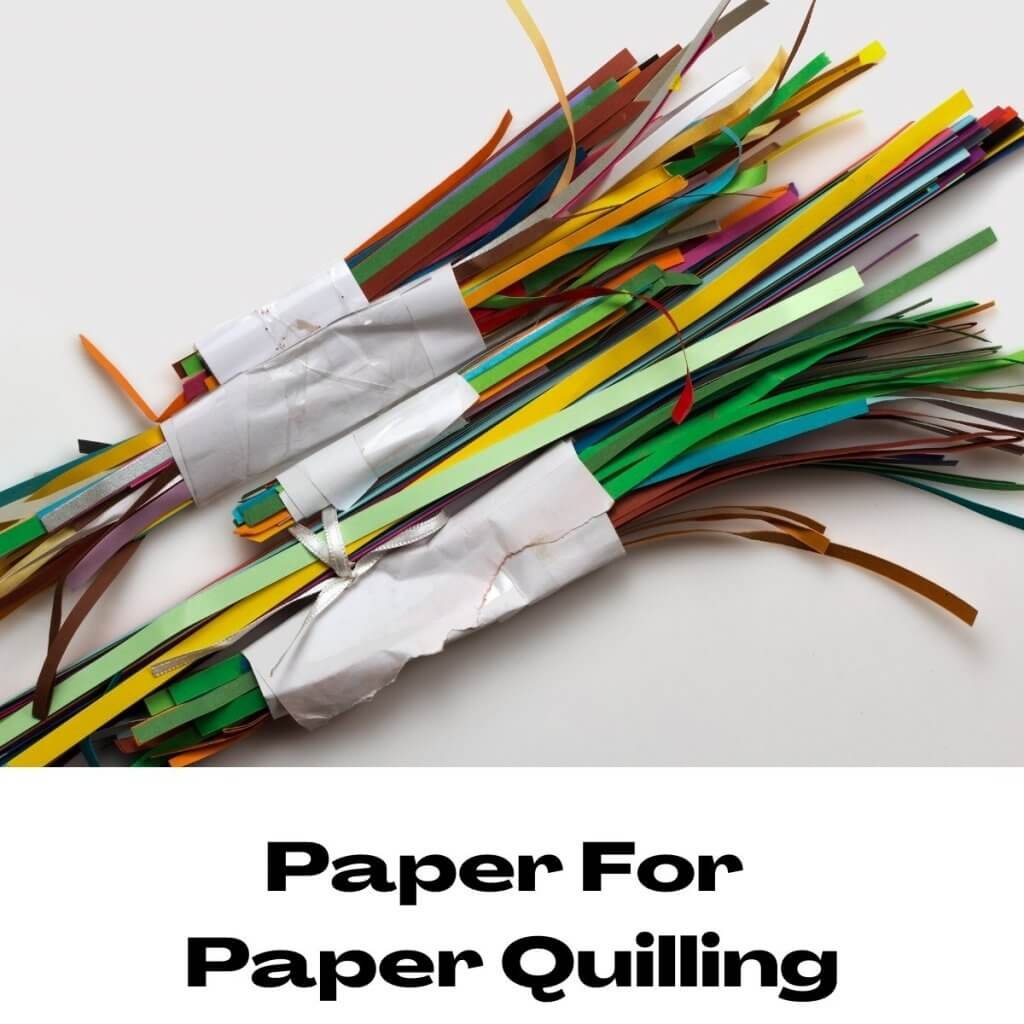
This includes construction paper, craft paper, computer paper, and random scraps of paper from junk mail.
Cardstock paper is not ideal for paper quilling because it doesn’t roll, it bends.
Once you’ve found the right paper, you will need to cut it into strips, which is time-consuming. If it’s in your budget, you can bypass this by purchasing quilling paper from an arts and crafts store.
Quilling paper is typically 3mm wide, and the strips should be 17 inches or longer.
To make your quilling paper, you will need to take the following steps:
Step 1: Gather Your Equipment
You will need quilling paper, a rotary cutter or craft knife, a ruler, and a cutting surface.
Step 2: Prepare The Edges
Prepare the edges by squaring them up on the left-hand side of the paper using a ruler.
Step 3: Trim Any Excess
Square the other side of the paper with the ruler. If you don’t get a perfect cut, you’ll need to trim the excess before you start making your quilling paper.
Step 4: Measure The Paper
Move the ruler to the left and to line up the paper before cutting.
Step 5: Cut The Strips
Your cutting technique will depend on your preference, but I find it easiest to start from the bottom and draw the knife upwards.
Then, repeat the process until you’ve got enough paper for your project.
Types Of Paper Quilling Techniques
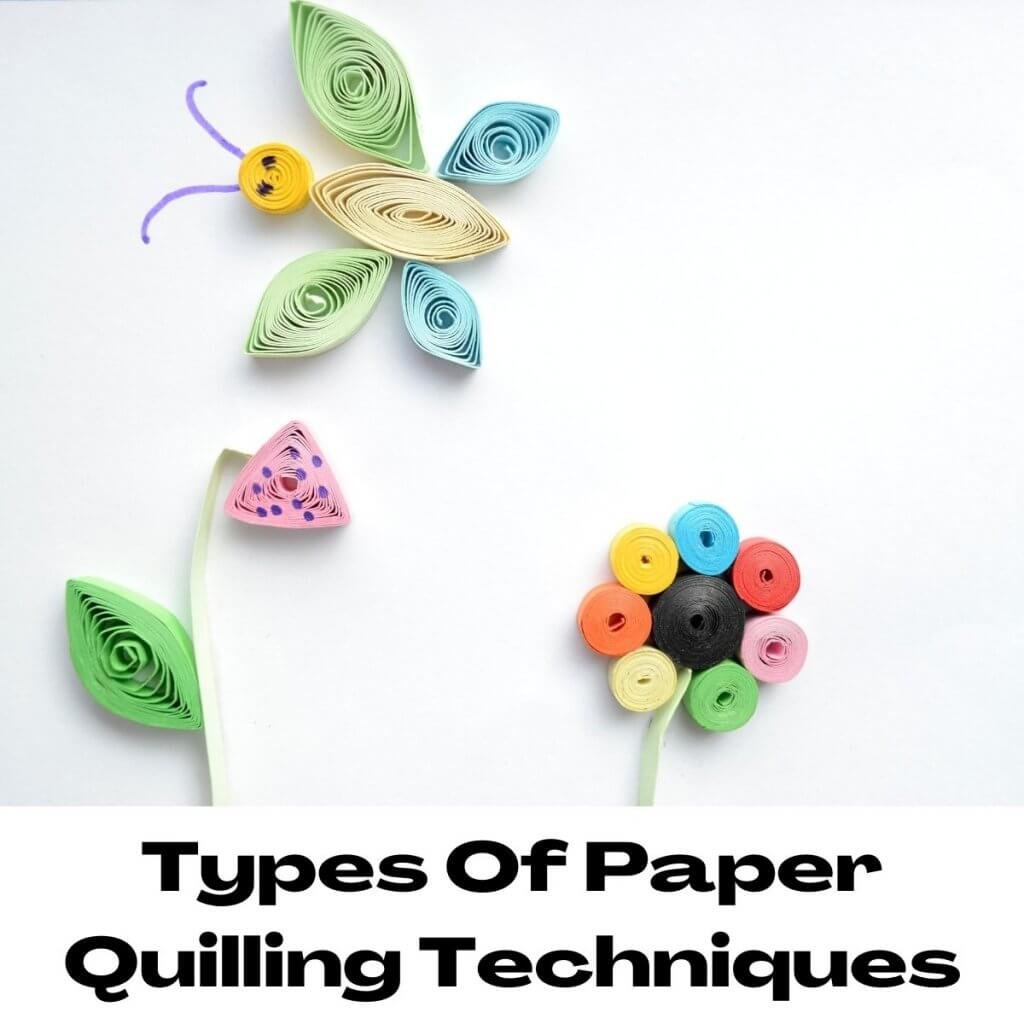
You’ll need to learn some basic quilling techniques before getting started. These include the following:
Open Coil
A simple circle is the foundation for all other shapes you will create. To make an open coil, start by threading a sheet of quilling paper into the quilling tool slot.
Try and line the edge of the paper and the slot line as best as you can. This will prevent the paper from hanging over the tool’s edge and make the creaseless visible.
Next, while pulling the strip taught with one hand, use the other hand to roll the paper around the tool.
Once you’ve rolled the paper all the way, remove it from the tool and leave it to expand. After it’s expanded, add a dab of glue to seal it.
Closed Coil
Use the same process for the open coil but when you get to the end, add a dab of glue to the edge and roll to a close.
When you take the coil off the tool, keep a tight grip on it so it doesn’t expand.
Quilled Teardrop
Put an open coil in between your forefinger and thumb. To create the teardrop shape, pinch the paper at the point where you want to make the teardrop shape.
Quilled Marquis
Make a teardrop shape and then pinch down on the other side to make the marquis shape.
Quilled Square
After making the marquis shape, rotate it 90 degrees, pinch down both sides and then open the shape up gently between your fingers.
Quilled Rectangle
The rectangle is made in the same way as the square, just don’t rotate the marquis shape as much before pinching.
Quilled Heart
Make two quilled teardrops and glue them together at the point to form a heart.
Quilled Spiral
You will need a quilling needle to make a spiral. First, roll the paper around the needle, but there should be no paper overlapping.
As you roll the paper, pull it in the opposite direction of the needles handle. When you get to the base of the needle, cut off the excess paper. Slip the spiral off the needle and shape it accordingly.
Quilled C-Scroll
Roll the first half of the paper strip downwards and the second half of the paper strip upwards.
Quilled S-Scroll
Roll the first half of the paper strip in one direction and the second half of the paper strip in the opposite direction.
Perfect Hobby For You:
What Is The First Step In Quilling?
The first step in quilling is to practice making all the different shapes. Once you are confident, you can move on to a complete project.
Quilling Instructions For Beginners
Regardless of what you are making, the quilling process is the same. The only difference will be the design.
There are several simple quilling projects for beginners, including monograms, snowflakes, and a basket of flowers. Here are the step-by-step instructions for all three:
Instructions For The Monogram
It will take approximately one hour to get all the pieces ready for the project and a total of around four hours to put it all together.
Step 1
To make a basket of flowers, you will need one shadowbox picture frame, a board for the background, quilling strips of colors of your choice; glue; tweezers; a craft paper trimmer, and a pair of scissors.
Step 2
Print out the letter you plan on using. If you don’t have a printer, trace the letter from a magazine and use a ruler to ensure straight lines.
Step 3
Cut out ¼-inch wide paper strips using the paper cutter.
Step 4
You can use whatever quilling shapes you like to fill the letter. If you’re not sure how you want your design, search the internet for some inspiration.
Step 5
Use paper strips to frame the outline of the letter. The paper strips should be standing up, it should look 3D. Don’t start filling the letter until the frame has dried properly.
Step 6
Whatever design you’ve chosen, start gluing the coils inside the letter using tweezers. Once all the coils have been added and the design is complete, leave it to dry thoroughly.
Step 7
Once your monogram is completely dry, put it into a shadowbox frame and put it on display.
Instructions For The Snowflake
It will take approximately thirty minutes to prepare all the pieces for the project and around two hours to put it together.
Step 1
To make a snowflake, you will need white and blue paper quilling strips 54cm long and 5mm wide; a slotted quilling tool; a ruler; a sheet of white paper; a geometric compass; a pencil; a plastic sheet; scissors, and glue.
Step 2
Create the base for the design by drawing a 5cm circle on the white sheet of paper with the compass.
Step 3
Use the ruler to make six equal sections within the circle.
Step 4
To make the snowflake, you will need 18 tight coils in blue, quarter-length; 6 tight coils in blue, half-length; 6 marquis in white, quarter-length; 1 tight coil in white, half-length, and 6 tight coils in white, half-length.
Step 5
You can enhance the look of your design by wrapping some of the pieces in a quarter-length strip.
Step 6
After finishing all the pieces, you can start putting them together. Put the drawing under an OHP sheet and start putting the snowflake together, starting in the center. Start with the white half-tight coil, the blue quarter coils, the teardrops, the white marquis, and the mini marquis.
Step 7
Once you’ve assembled the snowflake, let it sit until it’s completely dry. If you want to use it to decorate a Christmas tree, thread some bakers twine through it and hang it up.
Instructions For The Basket Of Flowers
It will take approximately one hour to get all the pieces ready for the project and a total of around four hours to put it all together.
Step 1
Start by gathering your equipment together. You will need a pair of scissors, a slotted quilling tool, glue, white stationery paper, and quilling paper strips of your choice.
Make sure you have green for the leaves. You will also need brown colored strips for the basket.
Step 2
Create thirty tear drop shapes out of a mixture of the paper for the flowers.
Step 3
Create six loose yellow coils for the middle of the flower.
Step 4
To make the leaves, create ten marquis shapes out of green quilling paper.
Step 5
Make fifteen loose coils out of the brown paper for the basket.
Step 6
Now that all the pieces are ready create the flowers by gluing six teardrops around each yellow coil.
Step 7
Once all the flowers are created and dried, arrange them so there are three flowers on the bottom and two at the top.
Step 8
Arrange the leaves around the flowers, and glue them together once satisfied with the position.
Step 9
Create the basket by lining six brown coils against the three flowers. Glue two coils down each side, four at the bottom and the rest of the coils in the middle. Leave your flower basket to dry, and the project is complete.
Paper Quilling Tips For Beginners
All beginners make mistakes because the skill is unfamiliar to them. But your quilling journey will be much easier if you practice the basic tips, use premade patterns, and use a circle sizing board.
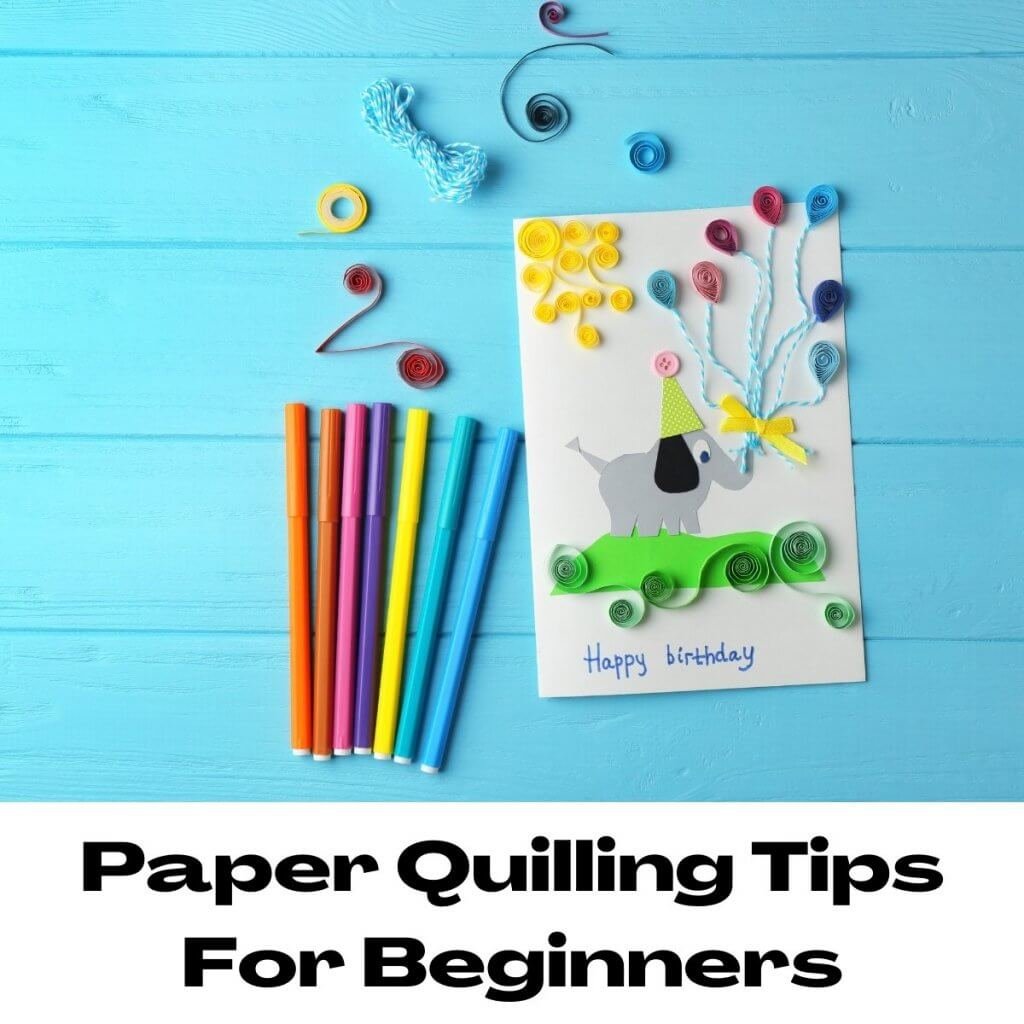
Keep reading to find out more quilling tips for beginners.
Practice The Basic Shapes
Getting the basic shapes down pat will save you a lot of frustration as you start making more complicated patterns.
As mentioned, the basic shapes are heart, marquis, teardrop, open coil, closed coil, spiral, c-scroll, and s-scroll.
Use Premade Patterns
Premade quilling patterns are great for beginners. You can download them online free of charge or purchase the patterns of your choice at an arts and crafts store.
Use A Circle Sizing Board
Some beginners find it difficult to get the size right. This is where a circle sizing board comes in handy.
It’s a plastic board with predrilled holes in different sizes and shapes. Once you’ve made your shape, place them in the holes and gently spread out the middle until you get your desired shape and size.
Use An Acetate Sheet
An acetate sheet will provide stability for your quilled shapes. Develop your shape on the acetate. Once the glue has dried, you can remove your shapes without any damage.
Use A Light Touch
It’s tempting to use a lot of glue and to press down forcefully to ensure everything sticks properly.
However, this is a bad idea. Excess glue will destroy your project, and pressing down too forcefully will ruin the shape.
Use a tiny bit of glue, and press down lightly. You may need to repeat the process a couple of times to get the required shape and get the paper to stick.
Have A Damp Cloth Ready
With all the gluing required, paper quilling can get messy. So that you don’t unintentionally ruin your project, have a damp cloth available so you can wipe the glue off your hands.
Prevent Uneven Coils
When your pieces are drying on your work board, making sure they’re all level is difficult because you’re not going to sit there and watch them dry, and if a section pops up, you won’t notice.
If this does happen, use a craft knife and gently position the blade between the shapes. Just glue them back together if they come apart.
Prevent Double Thickness Strips From Bubbling
For edging work, you will need to use double-thick quilling strips. The gluing part is essential when making them because it needs to be steady all the way around.
But if there’s a gap in the glue, it makes a bubbling effect on the finished project. The problem is that you won’t notice it at first until you go to use it.
Your first instinct will be to make a whole new double-thickness strip, but that’s a waste of paper and time.
Instead, snip the bubble with a thin pair of scissors. Add a tiny dab of glue to the ends and pin the sheets together until it dries.
Prevent Crooked Backing
Finishing a project is thrilling, but that excitement will quickly wane when you realize the back is crooked!
You can trim the background slightly or use a craft knife to remount the quilling if it’s a little bit off.
Your project might end up sitting slightly higher because of the extra backing, but it will look better than a lopsided quilling.
Prevent Wrinkled Backing
Sometimes, the background of your quilling project gets wrinkly because the paper is too thin for the glue being used. You can place your coils on a mat board to prevent wrinkling or use a very small amount of glue.
Prevent Uneven Coils
To prevent uneven coils, hold the middle of the coil with one hand, and use the other hand to pinch it. This ensures the center stays in place and doesn’t go out of shape.
Paper Quilling Patterns For Beginner (project websites)
There are so many wonderful paper quilling patterns it’s impossible to describe them all here.
Here are some websites providing step-by-step instructions on some awesome patterns, such as, a fall tree, a teardrop vase, and a quilled angel.
- https://www.instructables.com/Paper-Quilled-Teardrop-Vase/
- http://lc.pandahall.com/articles/2869-instructions-on-how-to-make-easy-quilling-angels-for-kids.html
- https://www.creativejewishmom.com/2017/12/diy-paper-top-is-the-perfect-hanukkah-craft.html
- https://artsycraftsymom.com/paper-quilling-fall-tree/
Free Paper Quilling Tutorials
To improve your paper quilling skills, you’ll need some practice. Here are some excellent video tutorials to provide you with all the guidance you’ll need.
Final Thought
You now have everything you need to get started with paper quilling.
Of course, if there’s anything you don’t understand, there are plenty of tutorials online that will explain things in further detail.
Nevertheless, you should have enough here to get you started.


