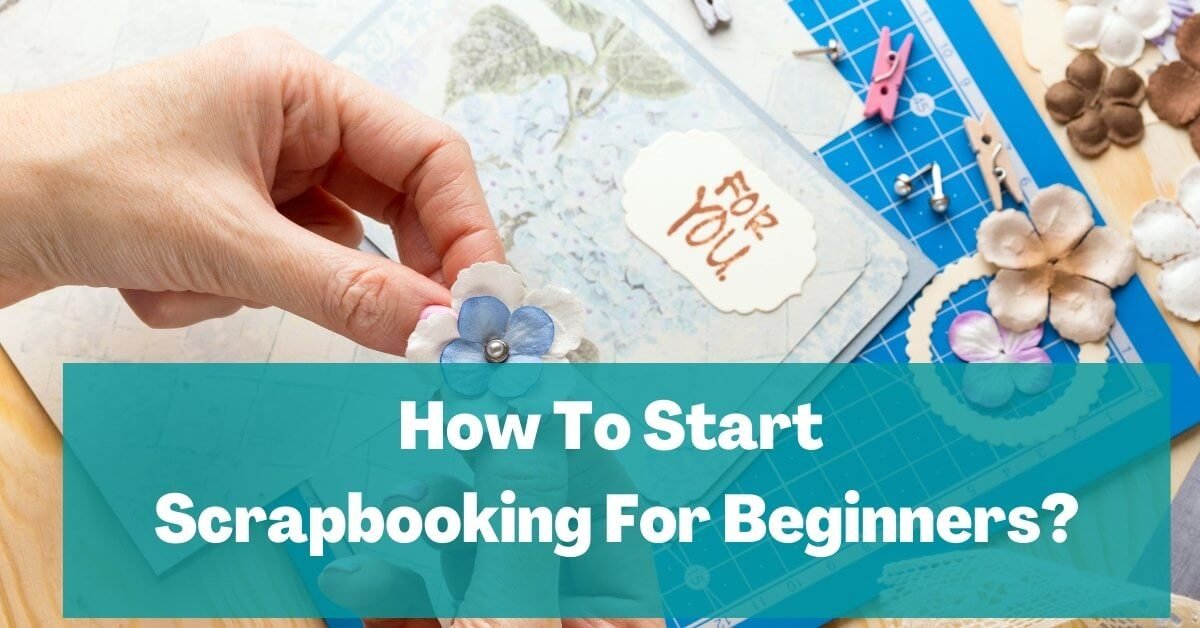
If you’ve stumbled across scrapbooking while researching how to preserve your most precious moments, you’ve come to the right place.
This guide will walk you through the steps required to get started, including developing a theme, brainstorming stories, and choosing what you’ll put in your scrapbook. Scrapbooking has been around for hundreds of years.
In fact, it started during the fifteenth century, and despite the technological era we live in, it’s still extremely popular. So, if you’re ready to connect with your inner craftsman/woman, keep reading.
What is Scrapbooking?
We all had fun making scrapbooks as kids, whether we made them at school or home. You will remember sitting for hours choosing the right photos, cutting, sticking, and color coordinating.
It was an activity that all children enjoyed but grew out of as we got older. Scrapbooking isn’t just for kids. It doesn’t matter what age you are, you can still have fun with it. But before you begin, here is an accurate definition of scrapbooking.
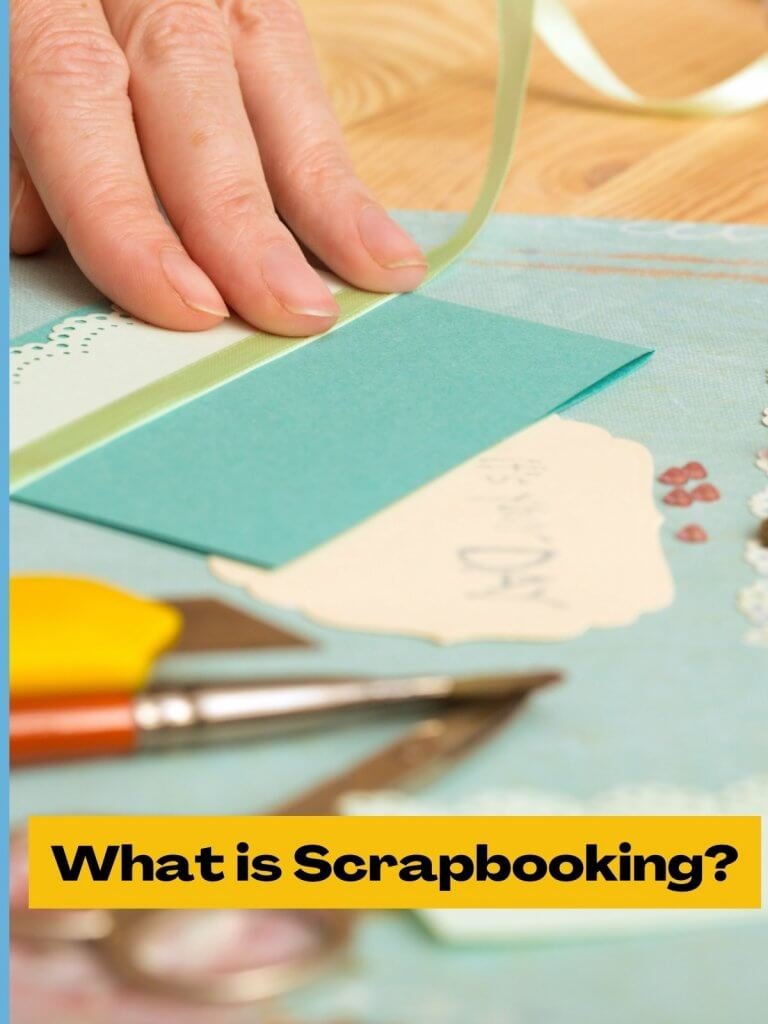
Scrapbooking is about keeping all your beautiful memories in a book. Scrapbooking has evolved over the years and is a lot more elaborate now. There are better materials to use, more colored paper.
You can print things off the internet and even use a variety of graphics to give your scrapbook the wow factor. Keep reading to find out what tools and supplies you’ll need to get started.
What Do You Need For Scrapbooking?
Before you start scrapbooking, you’ll need to gather some tools and supplies, such as a pair of sharp scissors/paper cutter, colored paper, and a selection of pens.
Unfortunately, not all scrapbooking supplies are created equal, some are great, and some are not so great.
The bottom line is you get what you pay for, so don’t go to the dollar store and expect to pick up quality materials, or you’ll be highly disappointed. Keep reading to find out exactly what you’ll need to start scrapbooking.
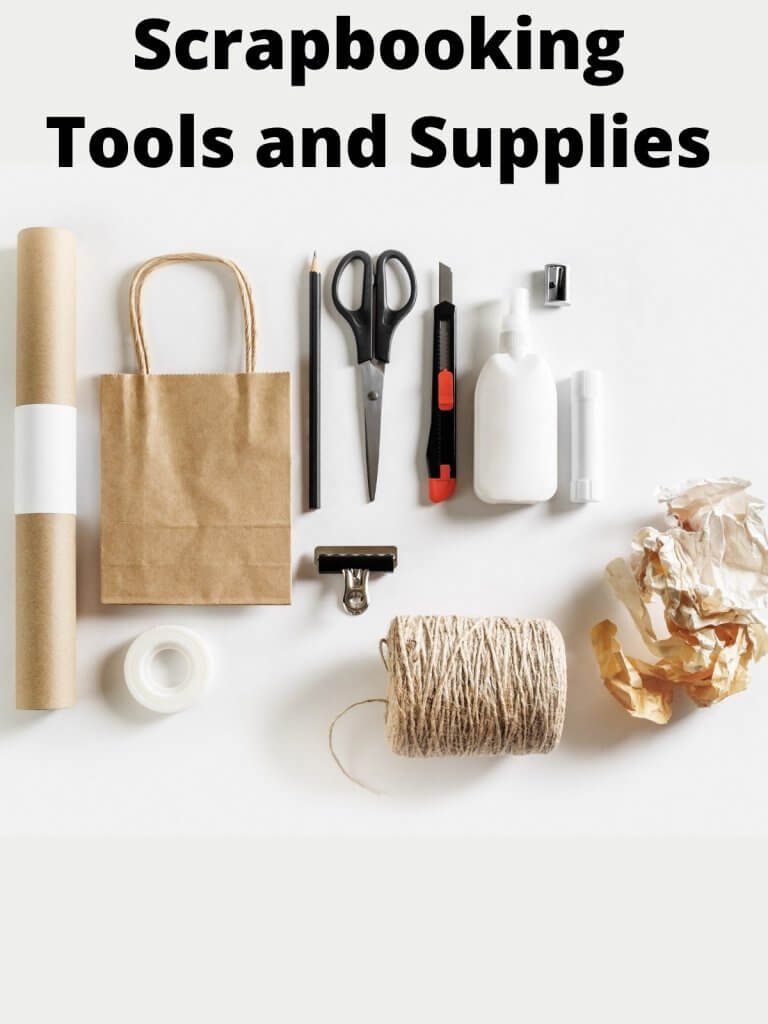
#1 A Pair Of Sharp Scissors/Paper Cutter
You’re probably on a budget and don’t want to spend too much money buying supplies. However, you will need to invest in a sharp pair of scissors.
If you’ve got a pair at home, test them to see whether they’re sharp enough to cut through cardboard.
If not, you’ll need to go out and buy a pair. If it’s within your budget, I’d recommend purchasing a paper cutter. I absolutely love them. They cut whatever you need to cut in a perfectly straight line.
#2 Colored Paper
You want your scrapbook to be as bright and colorful as possible to match the beautiful memories you’ll be chronicling.
Before taking a trip to the stationery store, I’d advise that you start with your stash of old magazines. If you don’t have any, ask around, and you’ll be sure to find some.
Magazines have some of the most unique and vibrant colors in them. If you have trouble finding full pages, get creative and make a collage by sticking pages together.
#3 A Collection Of Pens
Now, unless you’re a stationery freak like me, you won’t have a selection of pens stashed in a pencil case somewhere. So you’ll probably need to go to a stationery shop to buy some.
Buy as many pens as you can afford, felt tip pens, glitter pens, pens with a slim tip, and pens with a thick tip: silver, gold, copper, bright pink, and purple.
Whatever colors catch your attention, put them in the basket. Oh, and it’s important to mention that these pens need to be acid-free, pigment ink, non-bleeding, fade-proof, and waterproof.
If you’re not sure what any of this means, ask a shop assistant at the store, they will be able to help you.
#4 Acid-Free/Lignin-Free Adhesive
If your photos are important to you, choose the right adhesive. Acid-free will ensure that your photos remain intact while in your scrapbook.
You would hate to open it up one day, and the pages are stuck together, or worse still, holes have started burning through them!
It sounds extreme, but that’s what glue-containing acid does. Additionally, there are different types of adhesives. These include:
Dry Adhesives
Dry adhesives come in the form of washi tape, craft, glue sheets or dots, and double-sided tape.
Dry adhesives don’t make any mess; the only difference is they’re not as secure. Furthermore, use mountain squares or photo corner adhesive if you don’t want to get any glue on your photos.
Wet Adhesives
Wet adhesives are the most common. Do you remember the white gummy liquid glue you used as a kid?
That’s what you’ll need. It comes as a liquid, a paste, or in a spray can. The type you’ll need will depend on the scrapbooking project you’re working on.
As you probably remember, wet adhesives can be messy, so be careful and don’t use too much, or you’ll end up with wrinkly, lumpy paper.
Lignin-Free Adhesive
Lignin is found in wood, and it helps the fibers bond together. It’s good for wood, but it’s not good for scrapbooking because it makes the paper more acidic, which means it ages faster and the paper will eventually become yellow and brittle.
Have you ever seen a really old newspaper? It looks like it will crumble to pieces with one touch. Well, that’s what your scrapbook will end up looking like if you don’t use lignin-free adhesive.
#5 Lignin-Free Scrapbook Album
You’ll also need to ensure your scrapbook is made of lignin-free paper, or you’ll have the same problem I’ve just mentioned.
The whole idea of preserving memories is to keep them in good condition so you can take trips down memory lane with friends and family members, and flicking through a book of worn-out paper is no fun.
Remember, you get what you pay for, so invest some extra dollars in a scrapbook that’s not only made from lignin-free paper but it also needs to be museum-grade or archival paper.
Are you looking for a new hobby? Take a look at our beginner guides to start a new hobby
This type of paper is used in museums and libraries where products need to be kept on display for many years without aging. If this type of scrapbook is not on your budget, you can use a ring-bound album that will allow you to slot in plastic page protectors.
So the scrapbook doesn’t have any paper in it, it’s like an empty folder. You buy the paper and the plastic page protectors separately.
When you’re done sticking your photos onto the paper and writing your descriptions, slot them into the paper protectors and clip them into the scrapbook.
#6 Embellishments
To add to the experience, make some final touches and really give your scrapbook some character, add some embellishments to it.
You’ll be spoilt for choice at the stationery store. From sequins to buttons, flowers, and ribbons, there are so many extras you can use to decorate your scrapbook.
How To Start Scrapbooking For Beginners (Step By Step Guide)
Scrapbooking is a fun and enjoyable experience, and the experience becomes even more enjoyable when you have a guide.
The steps you’ll need to take include choosing a theme, brainstorming stories, and choosing what you’ll put in your scrapbook.
Here is a step by step guide on how to start scrapbooking for beginners.
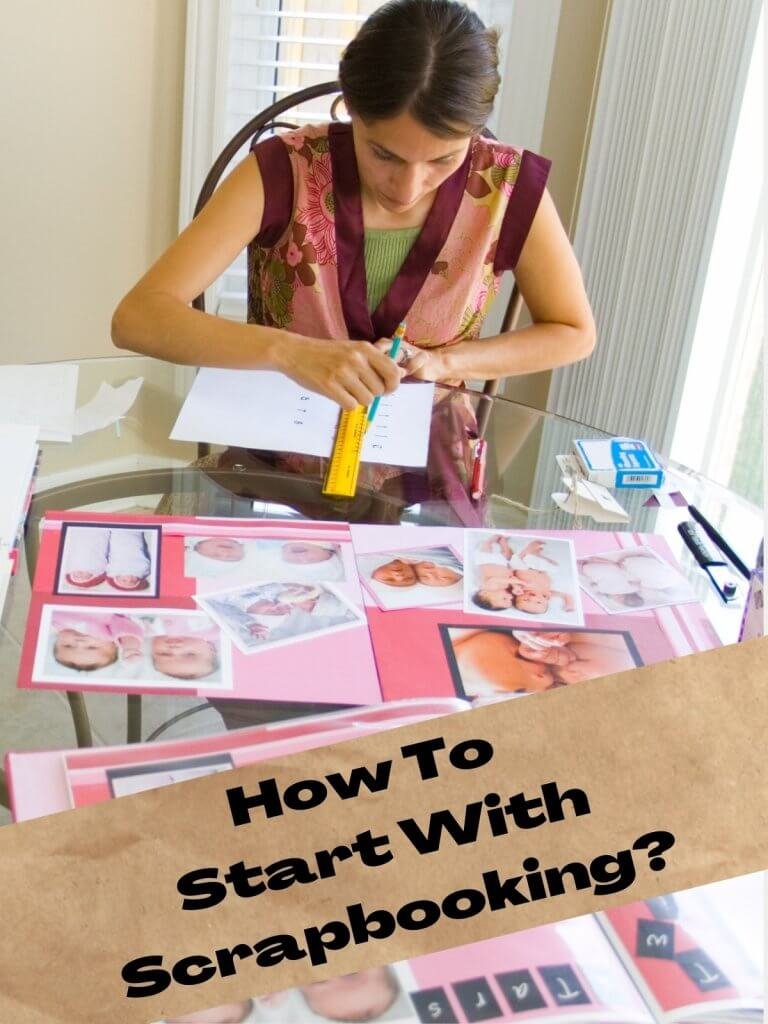
#1 What’s Your Theme
Your theme will determine how you choose to arrange your scrapbook. So your first step is to determine what you’re showcasing. Is it a wedding scrapbook, a christening, or a vacation?
You should decide on the theme before you buy your supplies and get started.
Your theme will determine the type of materials you purchase, your color scheme, and the type of scrapbook you’ll use.
#2 Brainstorm Stories
Let’s say your theme is your wedding. Now as great as the day might have been, you can’t include everything that happened.
So, before you get started, brainstorm a list of highlights from the event. Since you’re only brainstorming, there’s no need to write out the entire story yet.
Once you’ve completed the list, decide how you will organize the stories. Will you have sub-topics for each story or tell them in chronological order? How much space will you give to each story? How many pages?
#3 Choose What You’ll Put In Your Scrapbook
You can put whatever you like into your scrapbook, but the most common items are photos and stuff like receipts, concert tickets, and handwritten notes.
Whatever you feel is necessary to tell your story, add it to your scrapbook. Once you’ve decided what you’ll use, arrange them according to your brainstorm list.

#4 Titles/Captions/Quotes/Journal Entries
The titles, captions, quotes, and journal entries are a part of the storytelling process. They’re important, so think about them carefully.
Additionally, write everything out first before adding them to the final project. Captions can include dates, locations, names, and a brief description. Journal entries can include more detail about the event, song lyrics, poems, quotes, and anecdotes.
Once you’ve done this, place the photos and other items you’ll use into labeled envelopes so you don’t lose them.
Go through everything more than once to determine whether they capture what you’re trying to say in the right way.
#4 Get All Your Tools Ready
Once you’ve organized everything, it’s time to go shopping and buy the tools you’ll need to create your scrapbook.
You’ll find everything you need in stationary and arts and crafts stores. Don’t forget to ask the shop assistants for some help. They’ll give you plenty of ideas you hadn’t thought of.
#5 Find A Scrapbook
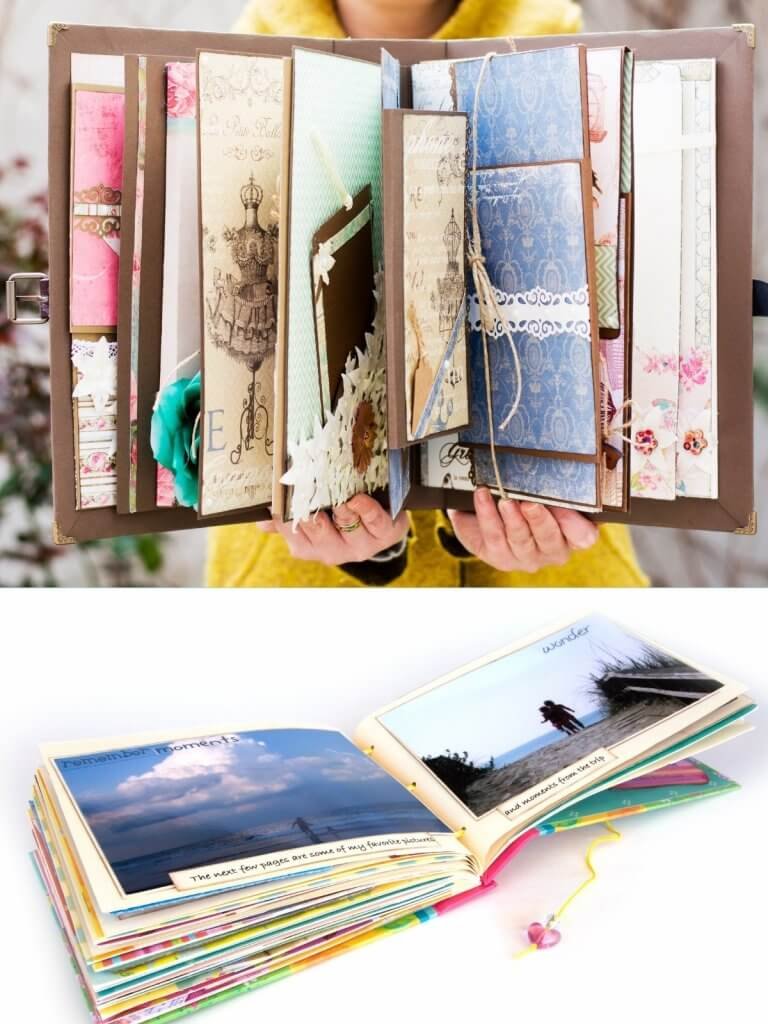
Scrapbooks come in all shapes, sizes, and colors, the one you pick will depend on your unique theme.
Ideally, you want a scrapbook that will accommodate your story, so getting the first three steps out of the way is important before you go shopping.
Due to the number of photos you’ve taken, you should have a rough idea of how many pages you’ll need. If you know the scrapbook will have chapters not yet completed, make sure you buy an album big enough to accommodate that.
Your pictures will determine how many pages you’ll need if it’s a wedding, a vacation, or another event.
I would advise bringing one of the envelopes to the store so you can measure the book size you’ll need. But in general, these are the sizes you can expect to find:
#1 Twelve by Twelve Inches (12×12)
This size works best if you want to include several pictures, writings, memorabilia, and embellishments on one page.
#2 Eight and a Half by Eleven Inches (8×11)
With this size, you can fit one to two pictures per page with a few embellishments.
#3 Eight By Eight Inches (8×8)
With this size, you can fit one picture per page. This scrapbook is generally used for a specific theme or as a gift.
Scrapbook Bounding
Scrapbooks come in three binders: post-bound, strap hinge, or D-rings. They allow you to take pages out, add extra, and rearrange them.
#6 Design Your Page Layout
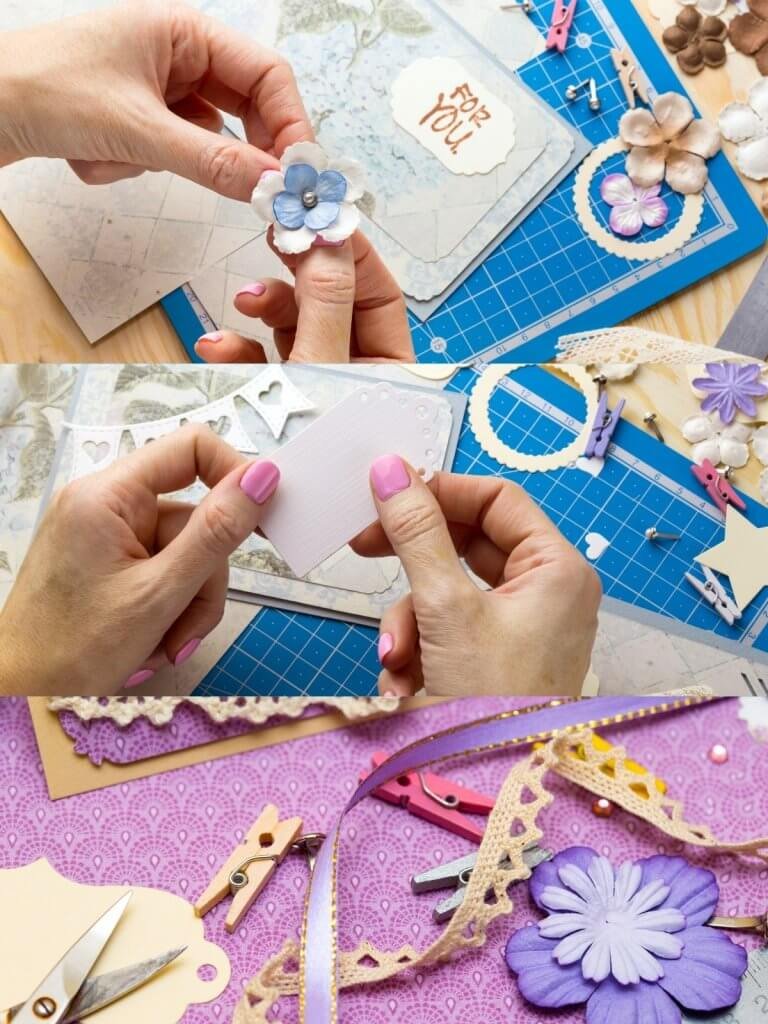
After cutting out all the material, you will use, arrange everything on the page and decide which kind of layout you will use.
Play around with the position of photos, titles, embellishments, and captions.
Once you’ve organized the layout, I find it helps to take a photo of the page before deciding if you will use the design.
#7 Get Sticking
Once you’re happy with the layout, decide which type of glue you’ll use and get sticking.
Before turning the pages over, make sure everything has dried properly. The last thing you want is to ruin your photos because they got stuck to the back of a page.
#8 Page Embellishment
Once your photos, titles, and memorabilia have been glued to the pages of your scrapbook, the next stage is to add your embellishment.
Some people choose not to use embellishments, so it’s totally up to you. Additionally, if you are going to use them, do so sparingly because you don’t want to take away from the story you’re telling.
#9 Put The Scrapbook Together
Once the pages have dried completely, now is the time to put your scrapbook together.
If you’re using plastic coverings, carefully insert one page at a time into each covering and then place them into the scrapbook. The process is the same if you’re not using plastic coverings.
#10 Storing Your Scrapbook
As mentioned, you don’t want to put all that hard work into creating a scrapbook only to leave it at the bottom of your draw.
Instead, display it on a shelf for all to see; however, be sure to keep it in a cool, dry location.
Don’t leave it near a heater, a fan, places where there could be a leak, or anywhere that is going to compromise the preservation of your scrapbook.
How To Make A Homemade Scrap Album?
If you’ve been to a few stores and can’t seem to find a scrapbook that meets your standards, you can make your own by purchasing your equipment, adding fabric, and preparing the paper. Keep reading to find out how to make a homemade scrapbook.
#1 Purchase Your Equipment
To make your own scrapbook, you will need two sheets of thick cardboard, eight by eleven inches; two sheets of a fabric of your choice, ten by thirteen inches; as many sheets of colored paper as you’ll need, eight by eleven inches; a sharp pair of scissors; a pencil; a ruler; a hole puncher; a glue gun; a twenty-four inch wired ribbon; pictures and a selection of colored pens.
#2 Add The Fabric
Lay the fabric over the top of each piece of cardboard, leaving one inch to hang over the edge all the way around.
Glue the fabric down, and then fold the edges of the cardboard around the edges and glue them down too.
#3 Prepare The Paper
Take as many sheets of paper as you plan to use and place them between the two fabric-covered sheets of cardboard. Use the pencil and ruler to measure and mark half an inch from the left edge of the first sheet of paper.
Measure an inch underneath that line, mark it and repeat the process until you get to the bottom of the page. From the top edge, measure one inch and mark it.
Punch a hole through all the marked spots. Thread the wired ribbon through the first hole, grab both ends of the ribbon and tie it into a tight knot. Keep doing this until the ribbon is in all holes.
When you get to the end, tie the ribbon into a tight knot and cut off any remaining.
#4 Decorate the Front and Back
Use the pictures, colored pens, and embellishments to decorate the front and back of the scrapbook.
Scrapbooking Tips For Beginners
There’s so much to making a scrapbook, that it’s impossible to include everything in one article.
However, some additional tips include, putting your scrapbook on display, using different photo sizes, and printing several photos. Keep reading to find out some scrapbooking tips for beginners.
#1 Put Your Scrapbook On Display
There’s no point in making a scrapbook and leaving it to collect dust in a drawer somewhere.
You’ve probably spent hours creating it, and you should be proud of yourself.
Display your scrapbook on a shelf so that friends and family can see it. When you have guests over, you can take it down and show them.
#2 Use Different Photo Sizes
Don’t use one photo size throughout the scrapbook, change it up a bit. Especially if you’re using more than one photo per page, varying your photo sizes will make your scrapbook more interesting.
#3 Print Several Photos
It’s easy to mess up when you’re scrapbooking. You might accidentally chop someone’s head off or glue a photo under the wrong title. To be safe, print off some extras just in case.
#4 Start With the Oldest Photos
Scrapbooking is like telling a story. All stories have a beginning, middle, and end. By starting with the oldest photos first, it makes it easier to tell your story.
#5 Trim, Trim, and More Trimming
Have you ever looked at a photo, and there was so much going on you didn’t know where to look?
To avoid this, trim out any excess areas in the photo, the aim is to have a focal point. Whatever it is, make sure that’s the most visible part of the photo.
#6 Avoid Weird Shapes
Don’t cut your photos into weird shapes because you don’t want to take away from the photo itself. Instead, stick to rectangular shapes and squares.
#7 Use Black and White and Color
Combining black and white and color photos will add style and character to your scrapbook.
#8 Write As Much As You Like
As mentioned, scrapbooks are about storytelling, so don’t hold back with your words.
Don’t worry about overcrowding, a scrapbook is supposed to look overcrowded.
Write as much as you think is necessary to get your point across.
#9 Use Handwritten Text
Scrapbooks should be authentic, so avoid typing completely. In my opinion, it makes scrapbooks look boring. No matter how bad you think your handwriting is, use it.
#10 Use Plenty of Quotes
Look for quotes that express what you’re trying to say. They don’t all need to be inspirational and motivational, they can be funny, sarcastic, and witty.
#11 Add Plenty of Texture
Texture is another way of adding character to your scrapbook. You can add texture by using embellishments such as buttons, flowers, sequins, and anything else you feel will add more life to your scrapbook pages.
#12 Don’t Throw Out Your Scraps
Scrapbook, scraps, no pun intended! But seriously, don’t throw out your scraps. You may be able to use some of them for your next project.
#13 Tear Paper
Tear some of the paper you’ll use in your scrapbook. For example, for my titles, I search for words or letters in magazines, tear them out and stick them into my scrapbook.
I do the same for quotes, torn paper adds an extra touch of authenticity.
#14 Create Pockets With Envelopes
Do you have any tiny envelopes hanging around? They look awesome in a scrapbook.
You can stick the envelopes onto the pages of your scrapbook and put things in them, such as concert tickets or important receipts.
#15 Always Have a Focal Point
Whether it’s a sunset, a person, a car, or an animal, your pictures should always have an obvious focal point.
Anyone who opens your scrapbook should be able to look at a photo and figure out that the memory is about your cat.
They can then read the writing without being shocked because they couldn’t figure out what the picture was all about.
#16 You Don’t Need a Title For Every Page
Some pictures speak for themselves, and there’s no need for a title. For example, I have a black and white photo in one of my scrapbooks of my brothers carrying my dad’s coffin.
Have you ever seen an Instagram post that says, “No caption needed?” That part!
#17 Keep It Simple If You’re Not Sure
Keep it simple if you’re unsure about the page design or layout. Once stuff has been glued down, you can’t remove it; however, you can always come back and add more once your creative juices start flowing.
#18 Use Your Story-Telling Skills
As mentioned, scrapbooking is all about telling a story, so whatever story you’ve got to tell, tell it and tell it well.
#19 Lay Everything Out First
Things look great in magazines or on their own, but they can look terrible when everything is put together. To avoid making a mess of your scrapbook, lay everything out first. If you like what you see, stick it down.
#20 Choose The Right Background Colors
Your background colors will make or break your scrapbook, so choose wisely.
The most effective strategy I’ve found is ensuring the photo colors match. If you use Instagram stories, you’ll notice the app automatically matches the background for the story to the dominant colors in the video.
As a result, everything looks streamlined and coordinated.
Scrapbook Ideas For Beginners You Can Try Yourself
Although there are probably thousands of scrapbooking ideas, as a newbie, you may be struggling to come up with any.
Some ideas include a selfie scrapbook, a movie ticket scrapbook, or a screenshot scrapbook. Here are ten scrapbook ideas for beginners:
#1 A Selfie Scrapbook
People take selfies for different reasons. You may think you look really hot, have received some good news, or just felt like capturing yourself in the moment.
Instead of leaving your selfies on your phone, how about printing them out and using them to make a scrapbook?
You can write a description of how you were feeling in each one.
#2 A Movie Ticket Scrapbook
Are you a movie buff? If you go to the movies any time a new movie comes out, start a scrapbook about the movies you see.
Keep the tickets, take pictures with the person you went with, and write about what you thought of the movie and how the night went in general.
#3 A Screenshot Scrapbook
Technology has advanced in such a way that we really don’t need pen and paper anymore.
But I think we’ve gotten too complacent with it. Even though we’ve got cloud technology and backup upon backup, you never know when technology will just shut down on you, and everything you’ve stored in your phone will be gone for good.
So to preserve the messages that mean a lot to you, why not screenshot them and turn them into a scrapbook?
#4 A Sand Scrapbook
Do you enjoy going to different beaches? If so, why not collect sand from every beach you go to and store it in a scrapbook, as well as the adventures you have during your trip.
#5 A Birthday Scrapbook
Start a birthday scrapbook for yourself and keep adding to it each year. Most people do something special for their birthday, whether going on vacation, having a party, or going out to dinner with friends.
Take plenty of pictures on your special day and start preserving those beautiful memories.
#6 A Relationship Highlights Scrapbook
Are you in a serious relationship? Start making a scrapbook of all the highlights of your union.
For example, when you go out on dates when you spend birthdays together, go on vacation together, or when you have family celebrations together.
Add whatever you consider a special moment in your relationship to your scrapbook.
#7 A School/College Highlights Scrapbook
Amazing things happen at school and in college, and there are plenty of memories you can preserve, such as prom night, football games, house parties, and graduation day.
You’ve probably already got loads of pictures, so start making a scrapbook out of them.
#8 A Baby Sibling Scrapbook
Baby brothers and sisters are so cute that we wish they could be babies forever.
But since they can’t, how about preserving memories of them There are so many milestones to capture with babies, such as the first tooth, the first time crawling, the first time walking, the first time wearing a pair of shoes, and the first time speaking.
The list is endless. You’ll most likely need more than one scrapbook for this.
#9 A Sports Scrapbook
Whether you’re a member of a sports team such as football, soccer, baseball, or basketball, or you go and watch a lot of games.
Make a scrapbook and start preserving those beautiful memories. Keep the tickets from the games you go to, and if you ever get to meet a famous player, that can be the main highlight of your scrapbook.
#10 A Hobby Scrapbook
Do you have a hobby such as knitting, painting, dancing, or playing a musical instrument?
A hobby scrapbook is a great way to showcase your passion and your talent.
For example, if you enjoy painting in your spare time, take pictures of your completed work—the same goes for knitting or any other creative hobby.
Online Scrapbooking Classes For Beginners
If you want to perfect your scrapbooking skills, there are plenty of online scrapbooking classes you can take. These include the following:
Final Thought
Now that you know how to start scrapbooking, it’s time to get started. You’ve got plenty of ideas to work with, plus step-by-step instructions to ensure you get it right.
Additionally, as you’ve just read in the last section, you can take several online classes if you want to know more about scrapbooking and get some help from the experts.
